.png)


Keeping your headlights clean is often overlooked when it comes to vehicle maintenance. When you think about busy we are in our daily lives, it's not hard to see why. While clear and bright headlights are nice to look at, they are also super important for safe driving. This is especially true at night or during bad weather.
Over time, the plastic covering the headlights can become hazy, cloudy, or yellowed, reducing the visibility and effectiveness of the lights. This detailed guide will explore the best methods to clean your headlights. Our goal here at The Retrofit Source is to help keep their appearance and performance in top shape.
The Importance of Keeping Your Headlights Clean
Ensuring your headlights are clean and in proper working order is essential for several reasons. Regular headlight maintenance has the following benefits:
Safety
For starters, clean headlights are crucial for safe driving. Properly kept headlights can greatly improve your ability to see and be seen. Maintaining your headlights clean reduces the risk of accidents and makes driving safer.
Cloudy, foggy, or dirty headlights can greatly reduce visibility at night or during poor weather conditions. You and other drivers can have difficulty seeing each other if they are not properly maintained.
Aesthetics
The appearance of your vehicle can be greatly affected by the condition of your headlights. Clean, clear headlights contribute to a well-maintained and polished look. On the other hand, foggy or yellowed headlights can make your vehicle appear older and less cared for. By keeping your headlights clean, you can maintain the overall aesthetic appeal of your car and potentially increase its resale value.
Fuel Efficiency and Environmental Impact
Clean headlights can also contribute to better fuel efficiency. When your headlights are functioning at full capacity, they require less energy from your vehicle's electrical system. This reduces the load on your engine and can lead to improved fuel efficiency. Your car will also emit fewer emissions when it uses less energy.
Preventative Maintenance
Regularly cleaning and inspecting your headlights can help you identify and address potential issues before they become more serious problems.
You can repair or replace your headlight lenses if you notice cracks or chips during routine cleaning. This can help you fix the problem before the damage worsens.
Maintaining clean headlights can also help prolong the life of the headlight lenses. This can help you reduce the need for more costly repairs or replacements in the future.
The steps listed below are the most popular and most easily accessible, but there are other options you should consider.
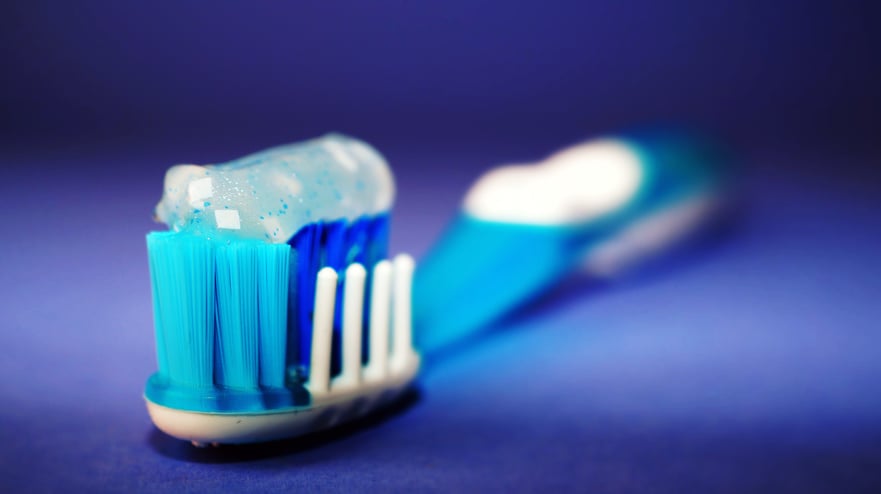
Toothpaste and a Toothbrush
Did you know using toothpaste to clean foggy headlights is a popular and effective DIY method? Most people don't.
Surprisingly, toothpaste is an excellent cleaning agent for headlights, primarily due to its mild abrasive properties. This method is particularly cost-effective and straightforward. Car owners and mechanics love it because of this.
To clean your car headlights using toothpaste:
- Apply a small amount of toothpaste to a soft-bristled toothbrush.
- Gently scrub the headlight in a circular motion, adding water as needed.
- Rinse the headlight thoroughly with water and dry it with a clean microfiber cloth.
For optimal results, choose a toothpaste containing baking soda, which provides additional cleaning power.
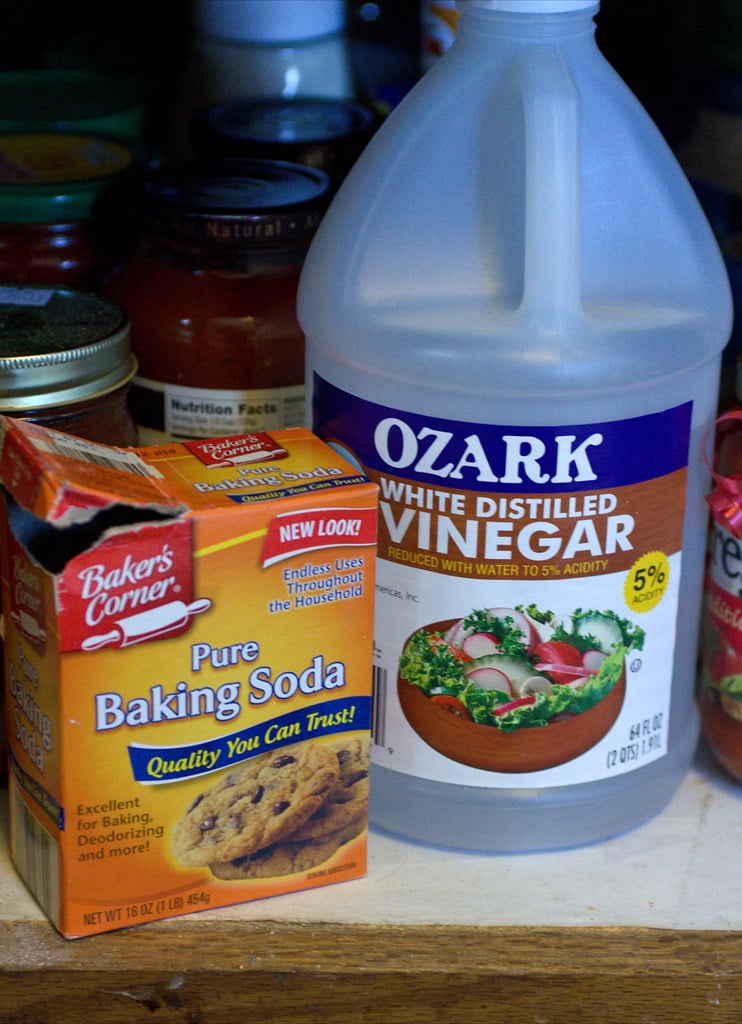
Baking Soda and Vinegar Solution
You can also clean headlights with a baking soda and vinegar solution. This method is especially useful for cleaning foggy headlight lenses and restoring their clarity. It works wonders on stubborn grime and discoloration.
To create the cleaning solution:
- Mix equal parts of baking soda and white vinegar in a small container.
- Apply the mixture to the headlight using a soft sponge or cloth, rubbing it in a circular motion.
- Rinse the headlight with water and dry it with a clean microfiber cloth.Here are some better options:
Wet Sanding
For more severe cases of headlight cloudiness, wet sanding may be the best solution. This method requires a bit more skill and a few additional tools but provides excellent results for heavily oxidized headlights.
Prepare a bucket of soapy water and gather sandpaper in varying grits (1000, 1500, and 2000 grit) to wet sand your headlights.
- Soak the sandpaper in the water for a few minutes before starting.
- Begin with the lowest grit sandpaper, lightly sanding the headlight using horizontal strokes.
- Frequently dip the sandpaper in the water to keep it wet and to remove debris.
- Gradually increase the grit of the sandpaper, sanding until the entire headlight is evenly smooth.
- Finish by rinsing the headlight with water and drying it with a clean microfiber cloth.
Headlight Restoration Kits
Headlight restoration kits are a convenient option for those who want a complete solution without the hassle of gathering individual materials. These kits are readily available at most auto parts stores and online retailers. The prices range from $15 to $40.
A headlight lens restoration kit can make the process of cleaning foggy headlights much more manageable. These kits typically include sandpaper or a sanding pad, a polishing compound, and a sealant to protect the freshly cleaned headlight. Follow the manufacturer's instructions closely, as each kit may have specific steps and requirements.
Professional Headlight Restoration Services
If you are not confident in cleaning your headlights effectively or prefer a professional touch, many automotive service centers and detail shops offer headlight restoration services. Prices for these services vary based on location and the level of cloudiness but generally range from $50 to $150.
Additional Tips and Tricks
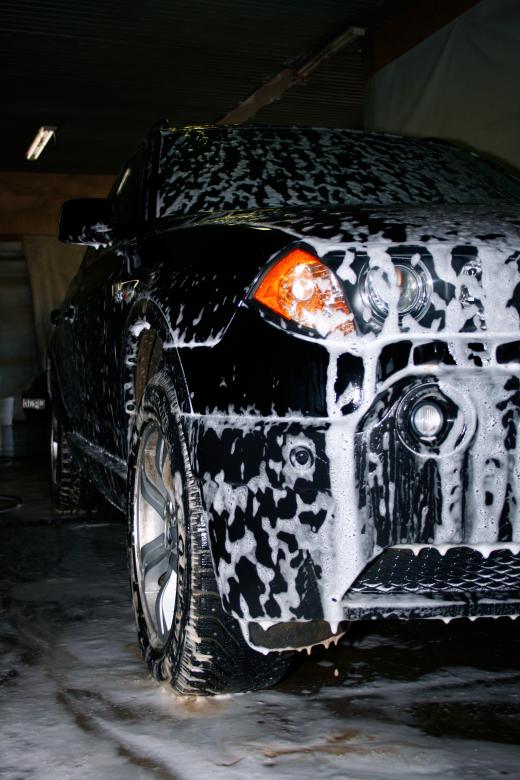
- Regularly washing your car can help prevent the buildup of dirt and grime on your headlights, reducing the need for more intensive cleaning.
Using a UV protectant spray or film on your headlight lenses can prolong their clarity and help prevent yellowing caused by sun exposure.
- If you live in an area with harsh weather conditions, consider investing in headlight covers to provide additional protection against road debris, salt, and sand.
- Avoid using harsh chemicals or abrasive materials on your headlights, as these can cause further damage to the plastic lenses.
LONG-LASTING HEADLIGHT RESTORATION
For a more durable and long-lasting headlight restoration, follow these steps to ensure your lights remain clear and functional for years to come:
- Wet Sanding: Wet sand the headlights using 800 to 1000 grit sandpaper, but do not go above 1000 grit.
- Cleaning: Use a 50/50 IPA solution (50% Isopropyl alcohol and 50% water) to clean the headlights after sanding.
- Apply 2K Clear Coat: Spray a 2K clear coat on the headlights, specifically using a product like Spraymax 2K Clear Coat.
- Optional - Fine Sanding and Polishing: After a few days, sand the headlights with 1500-grit sandpaper, followed by 3000-grit sandpaper. Finish by applying compound and polish to remove any orange peel effect.
Important Note: Do not wax, apply a ceramic coat, or use a clear bra on the headlights until the paint has fully cured, which takes at least a month. Once the paint has cured, you can apply a ceramic coat, clear bra, or use a product like Lamin-X sheets to provide extra protection for your restored headlights.
Maintaining Clear Headlights
Regular maintenance of your car headlights is essential for safe driving and maintaining the appearance of your vehicle. It is recommended to inspect your headlights at least once a month to ensure they are functioning correctly and to detect any signs of cloudiness or damage.
To maintain clear headlights:
- Keep your car clean by washing it regularly, including the headlights. This will help prevent the buildup of dirt, grime, and other contaminants contributing to headlight cloudiness.
- Inspect your headlights for signs of damage or wear. If you notice any cracks or chips in the headlight lenses, consider repairing or replacing them as soon as possible.
- Apply a UV protectant to your headlight lenses to help prevent yellowing and prolong their clarity.
- Regularly check the alignment of your headlights, ensuring they are aimed correctly for the best view while driving.
Permanently Restoring Yellowing Headlights
Follow these steps to permanently restore yellowing headlights:
- Clean the headlight: Rinse the headlight and the surrounding area, then dry it with a microfiber towel.
- Remove the yellow layer: Choose the appropriate sandpaper grit (600, 1500, and 3000 grit for heavily yellowed headlights; use only compound for lightly yellowed headlights). Sand the headlight, moving from coarser to finer grit sandpaper.
- Buff and polish: Apply cutting compound with a microfiber towel or a drill with a wool pad, then polish with a foam pad for a mirror-like shine (optional).
- Apply a protective coating: Choose a suitable protective coating or film for your headlight to prevent future yellowing. Options include UV hard coat, aftermarket headlight coating, clear coat, headlight covers, or headlight protection film.
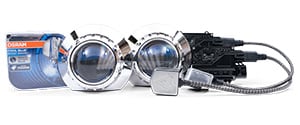
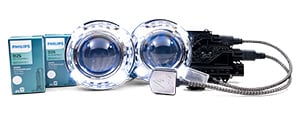
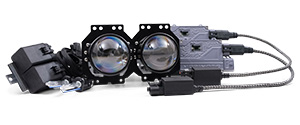
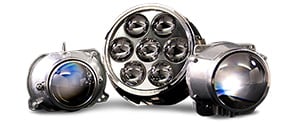
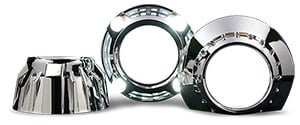
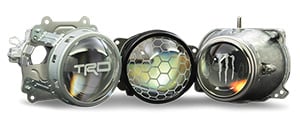
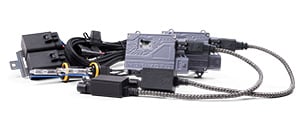
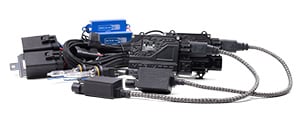
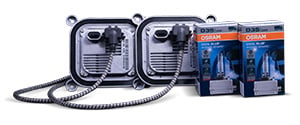
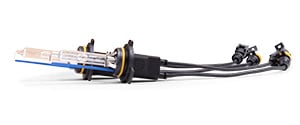
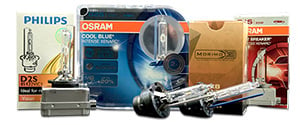
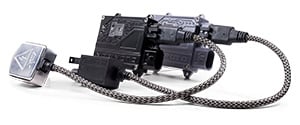
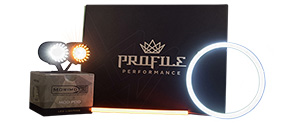
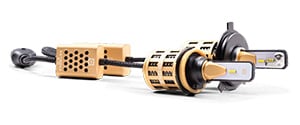
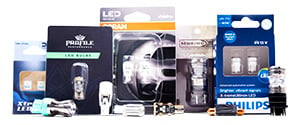
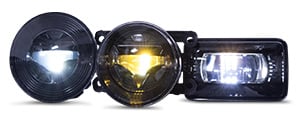
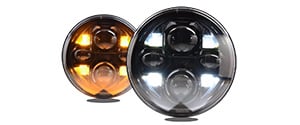
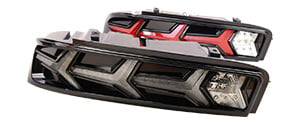
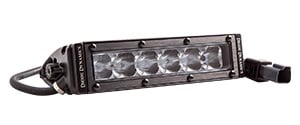
Upgrade Your Headlights with The Retrofit Source
You can improve your vehicle's lighting performance even further by shopping at The Retrofit Source. We offer a wide range of high-quality headlight upgrades, including LED and HID bulbs, projector retrofit kits, and stylish headlight assemblies. Our products are designed to provide better visibility, safety, and appearance for your vehicle. Together, this ensures a better driving experience.
Don't settle for mediocre headlights; visit The Retrofit Source today and explore their wide range of lighting solutions. Invest in your vehicle and transform your driving experience with The Retrofit Source!