.png)


How To: Maintain Your Cars Headlights
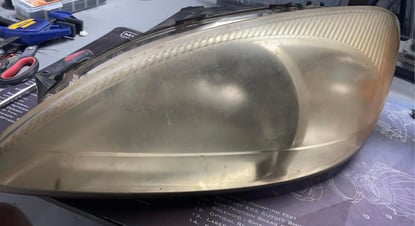
Headlights are important safety devices for every vehicle, a set of clear, good-quality headlights is needed to get the best view of the road. If you don’t drive at night, it might be hard to understand how difficult it is to drive with hazy or fogged-up headlights. When headlight lenses begin to get cloudy, it instantly reduces your visibility by up to 50% and your best solution will be to restore them.
.jpg?width=1536&height=1094&name=Kenny%20Man%20-%20HJ%20(2).jpg) Photo by Kenny M. / Headlight Junkies
Photo by Kenny M. / Headlight Junkies
Why You Should Maintain Your Cars Headlights
When your headlights are clear and free of any cracks, hazing, or fogging, you’ll get a clear view of the road and every road sign ahead. It’s important to maintain your headlights to see obstacles, potholes, or any other road conditions that might be hard to spot in darker conditions.
When headlights dim, most drivers start to blame their headlight bulbs. While headlight bulbs do deteriorate over time, brighter doesn’t always mean better when your headlights are in poor condition. Even upgrading to the brightest bulb you can find will still be lackluster since the light is hindered from passing through the hazy lenses.
.jpg?width=413&height=226&name=Ethan%20Coleman%20-%20HJ%201%20(2).jpg)
Photos by Ethan C. / Headlight Junkies
It’s important to check the condition of your headlights often. Not just the lenses, but also keeping up with worn-out bulbs and alignment errors can help immensely. Headlights that are well taken care of will provide you with the best performance for years to come.
HOW TO Fix Cloudy Headlights
The most common material found in headlight lenses today is polycarbonate or plastic. Car manufacturers use this material because it doesn’t break easily. The downside to using those materials is that they turn yellow with age due to oxidation. Over time, oxidation will break down the UV-protectant materials on your headlights and cause them to cloud up. Fortunately, this can be fixed in your garage without paying hundreds of dollars for a new set of headlights.
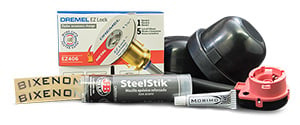
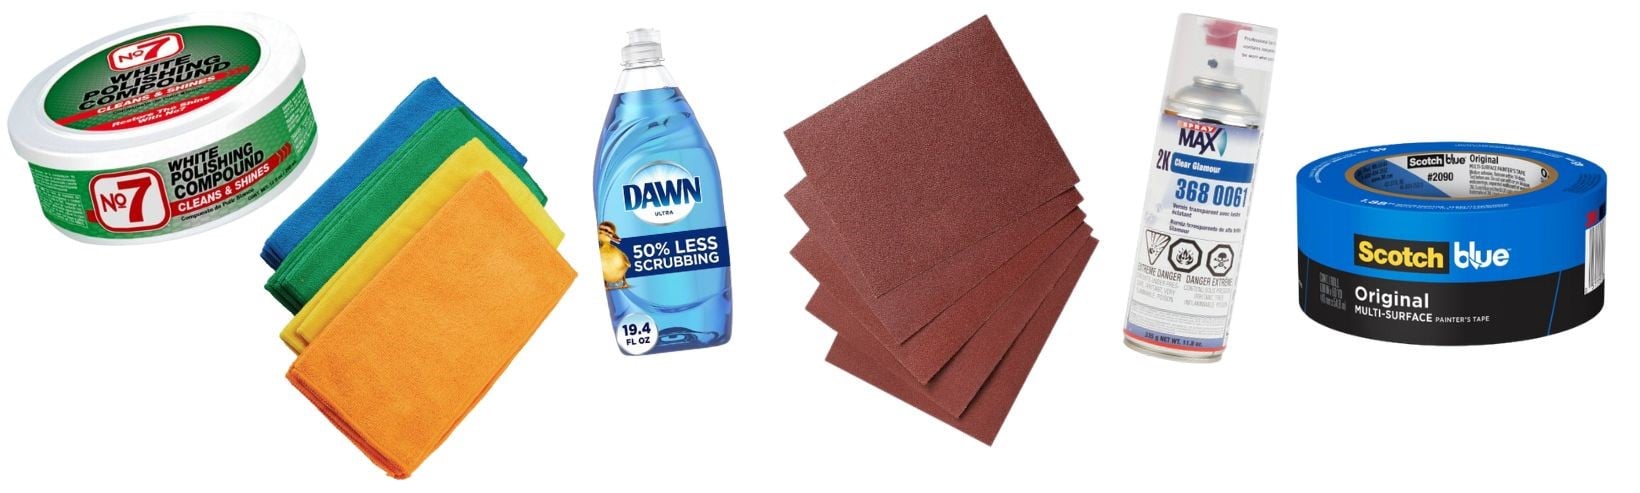
What you’ll need:
- Water
- Soap
- Microfiber cloths
- Masking/painters tape
- Sandpaper sheets – 600, 800, 2000, and 3000 grit
- 2K Clearcoat
- Polishing Compound
Step One: Clean the Headlights
.jpg?width=449&height=299&name=Erick%20Ruiz%20-%20HJ%20(2).jpg)
Before you begin the process of restoring your headlights, you’ll want to choose if you want to do this while they’re on the vehicle or off. Since we’ll be using a spray can, taking off the headlights will reduce the chances of missing spots or causing overspray on the vehicle. If you choose to keep them installed, make sure to have masking tape available to protect your paint during this process.
First, make sure the headlights are as clean as possible. You can start by washing them with soap and water. Make sure to use something soft, such as a cloth, as you don’t want to pit or scratch the lenses any further. If your headlights are still on the vehicle, you’ll now want to mask off the edges of your paint with masking tape. You can use newspaper and tape to cover the front bumper to prevent any overspray. If your headlights are off the vehicle, find an appropriate workspace without dust and debris around.
Step Two: Wet Sand the Headlights
.jpg?width=458&height=234&name=Kenneth%20Ford%20800%20Grit%20-%20HJ%20(2).jpg)
Once the headlights have been thoroughly cleaned, it’s time to move on to the wet sanding process. You can start with a 340-grit piece of sandpaper, make sure to coat it in water before sanding the headlights. Using the 340, sand down the factory coating until it is off the headlight completely and oxidation is gone. Next, move onto 600-grit sandpaper, still using the wet sanding method. Go over the headlight evenly with the 600 grit until you achieve a uniform finish. After using the 600 grit, the last step is 800 grit sandpaper still using the wet sanding method. The 800-grit sandpaper will promote the adhesion of your new headlight clear coat.
Step Three: Clear Coat the Headlights
After going through the sanding process, now it’s time to clean them again. This time, clean the lenses with an isopropyl alcohol or wax and grease remover. It’s important to make sure the headlights are thoroughly cleaned before spraying them.
Using a 2K Clear Coat like the one from Spraymax, start with a light spray over the headlights. This will be your beginning tacky layer that needs to dry for about 5 to 10 minutes. Once you’ve allowed the bottom coat to become tacky, begin spraying with heavier coats of the 2K Clearcoat. You’ll want to complete 3 to 4 sprays per headlight to ensure they are completely coated. Make sure to spray evenly, as you won’t be able to fix the paint if it starts running heavily.
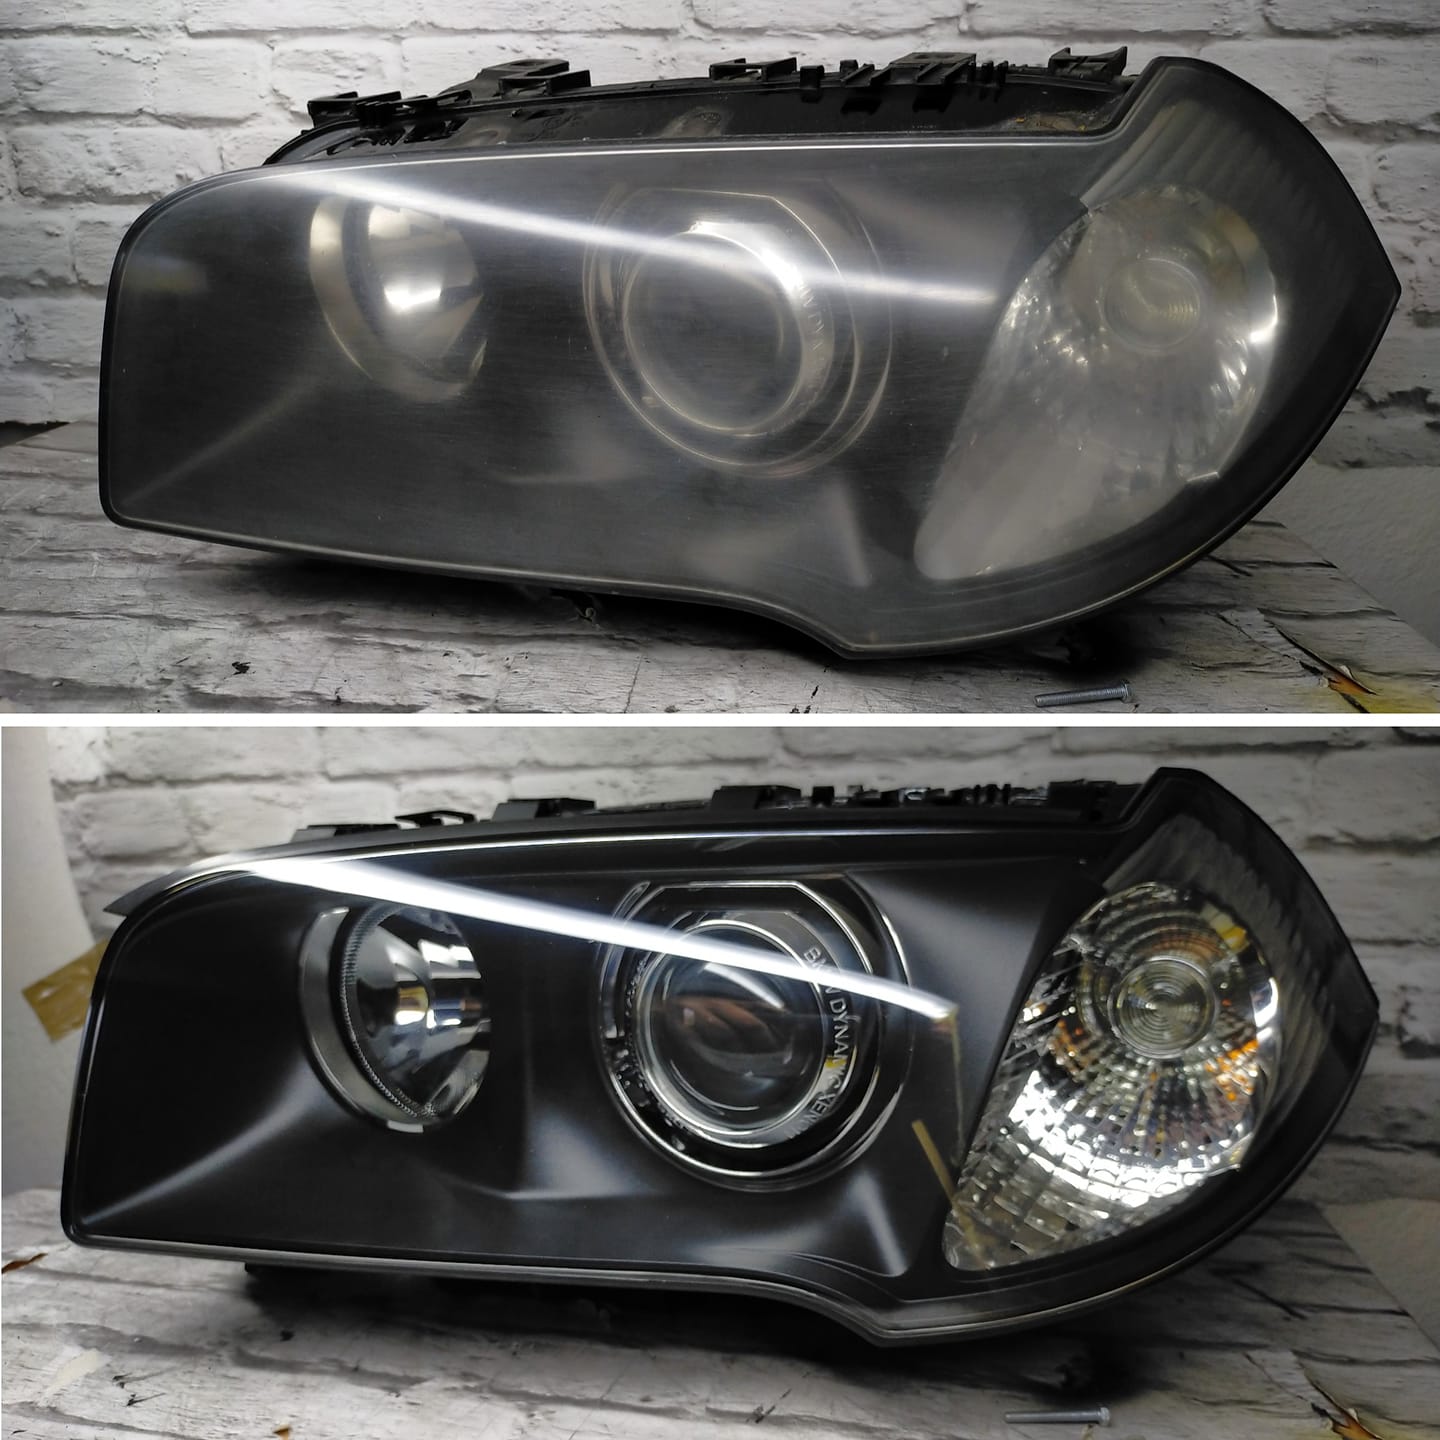 Photo by Mateusz S. / Headlight Junkies
Step Four: Aftercare
We suggest allowing the headlights to cure for at least 12 hours after clearing them. Once you’ve waited for them to completely cure, you can go back in with a 2000-grit sandpaper, wet sanding method, to remove any textures or small runs. Follow this up with 3000-grit sandpaper for a better finish. After wet sanding, compound or polish to get rid of any remaining orange peel.
We do not suggest waxing, ceramic coating, or applying a clear bra until it has been longer than a month. After a month has passed, you can apply a UV-protectant cover like the Lamin-X covers. With the combination of newly restored headlights and a high-quality protectant, you’ll have clear headlights for many years to come.
CONCLUSION
Now that you’ve restored your headlights and they’re sure to outlast the vehicle itself, we have some more tips and tricks that will keep oxidation away. When parking your vehicle, try to find a cool, dry place away from the harsh direct sunlight. If you have no other choice besides parking outside, you can use a car cover to further protect your headlights (and paint)! Another tip is to focus on your headlights while at the car wash. Make sure they get cleaned just as well as the rest of the car. Once finished washing, use a microfiber cloth for drying.
Being able to restore your headlights in your own garage will save you a considerable amount of money compared to using a professional or buying new units. If you take your time to follow the steps above, you’ll be able to say goodbye to dull, dim headlights that prevent you from seeing at night.
Our team here at The Retrofit Source is dedicated to helping you find the best automotive lighting upgrades for your vehicle. If you are more of a visual learner, check out our YouTube channel where we test and review new headlight upgrades. While you are there, do not forget to like and subscribe to our channel for the latest lighting upgrades for your vehicle.
Have any questions about any of the products we mentioned? Contact us today, and our customer support team will be happy to help.