.png)


Tech Tip: How to Install LED Bulbs
The question may seem straightforward, but sometimes it is not always clear how you are supposed to install an LED bulb. There are different housings, bulb shapes, bulb fans, and different vehicles that change this process.
Today we will be looking at a few different bulb types and how they influence the way they fit your vehicle. Afterward, we will look at how to install and aim the headlights so that you can hit the road or trails in your car, SUV, truck, ATV, you name it!
DISCLAIMER: In the United States, lamps, reflective devices, and associated equipment are regulated by the US Department of Transportation (DOT). Even though these types of LED lights can be used in place of an original halogen light bulb, it is not legal to use on vehicles registered for on-street use. This type of modification can only be done when used in a fog lamp application, dedicated off-road application, or in jurisdiction outside the USA where this is allowed. For more information on how to determine if this type of product is safe to use, and legal to use on public roadways in the USA, Click Here for a more detailed breakdown of compliance.
TYPES OF LED BULBS
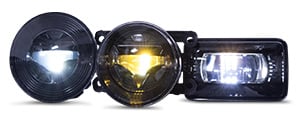
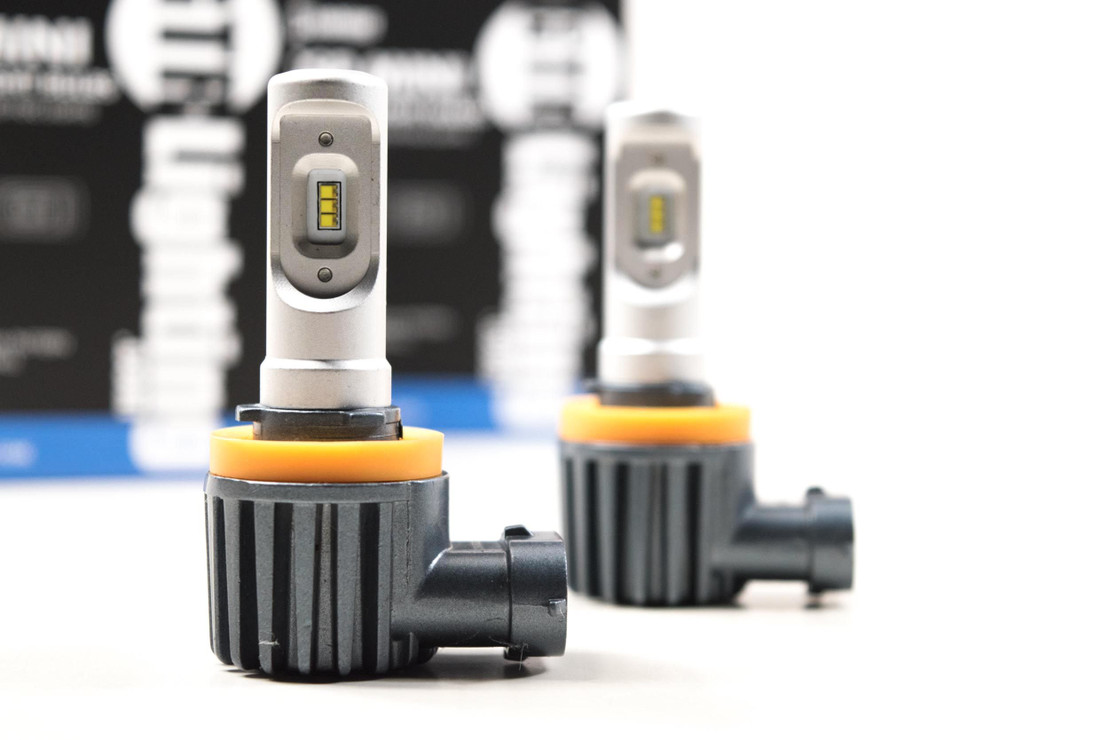
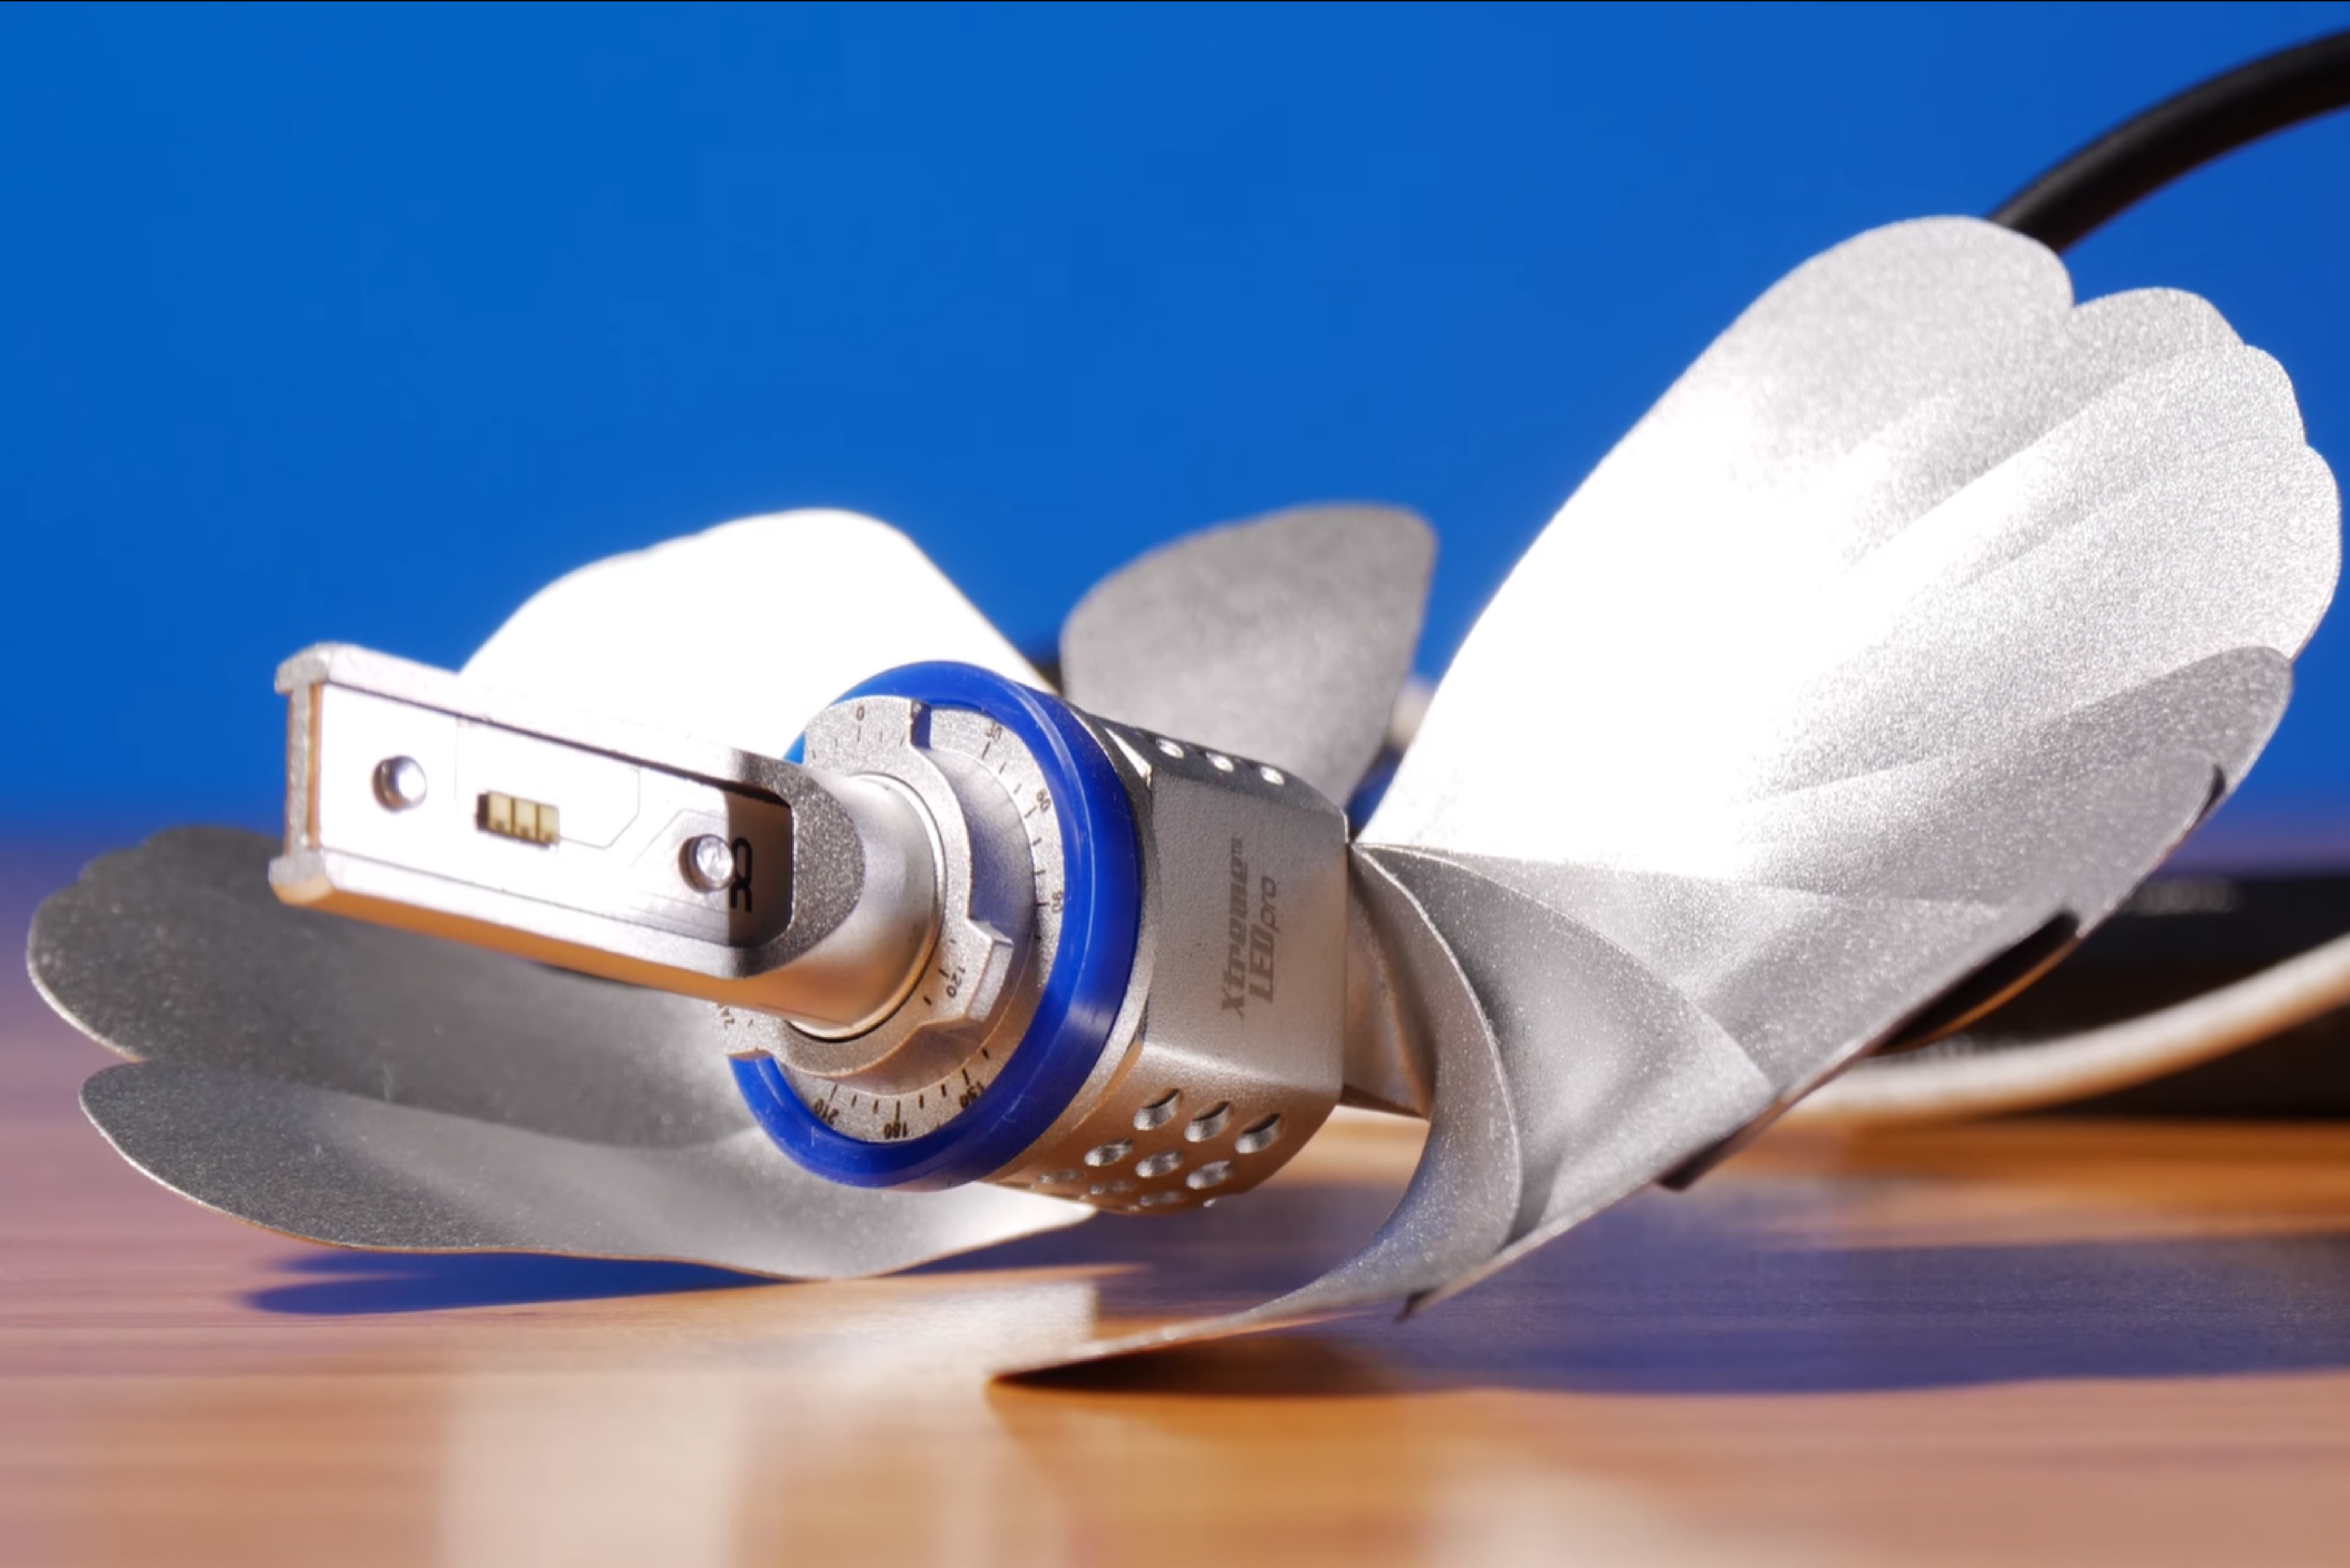
LED bulbs come in a variety of shapes and sizes. This applies to their fitment in the housing you have purchased it for, but also for the overall size of the bulb and its heatsink. In some circumstances, you will need a smaller bulb to fit the tight space behind your car or truck’s headlight housing.
Bulb Size
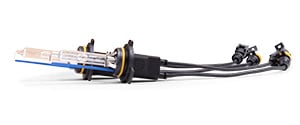
Most LED bulbs will be between 70 millimeters (mm) and 90mm in length, barring a few exceptions that we will get into. You will find that their width is no more than 50mm.
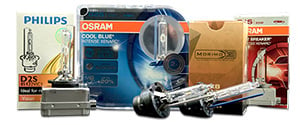
Better Automotive Lighting did a catalog of all the bulbs we sell and their various measurements. We recommend referring to their guide if you are unsure if the bulb will fit or not.
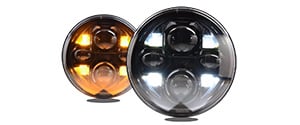
While GTR Lighting’s CSP Mini bulbs are not the brightest on the market, they will at least best your halogen bulbs in a light output contest. Most importantly to this guide, the compact design means they will fit most applications.
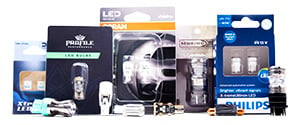
Another thing to consider is the lettered and numerical code for the bulb. H11, 9012, D2S, 880, and so on, determine which bulbs will fit in your vehicle for a headlight application. Your vehicle's manual should have the bulb sizes listed.
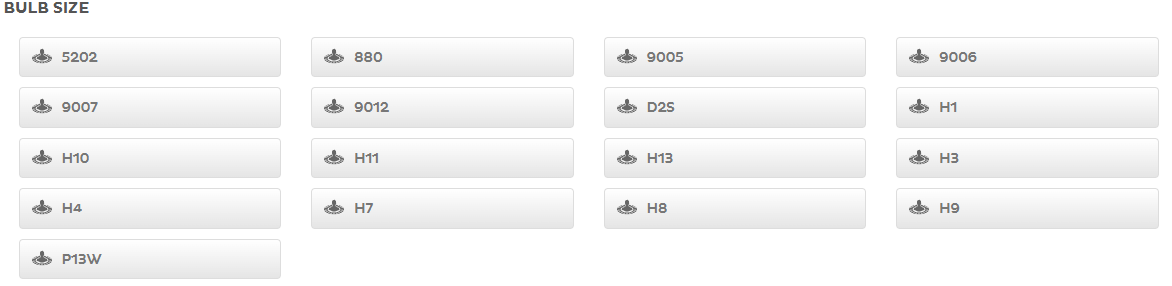
Types of Heatsinks
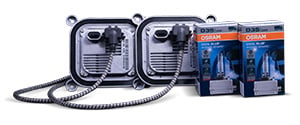
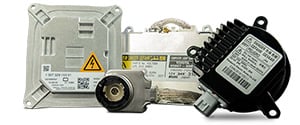
The biggest determinator of what makes the bulb so big is the heatsink. There are a few different types that consist of either an external cooling fan, a sealed fan, or fins. The purpose of all of them is just to keep the bulb cool.
Types of Heatsinks |
||
|
External Cooling Fan
|
Sealed Fan | Fins |
 |
 |
 |
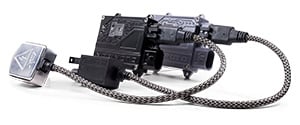
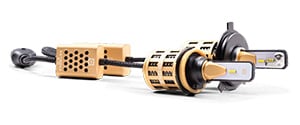
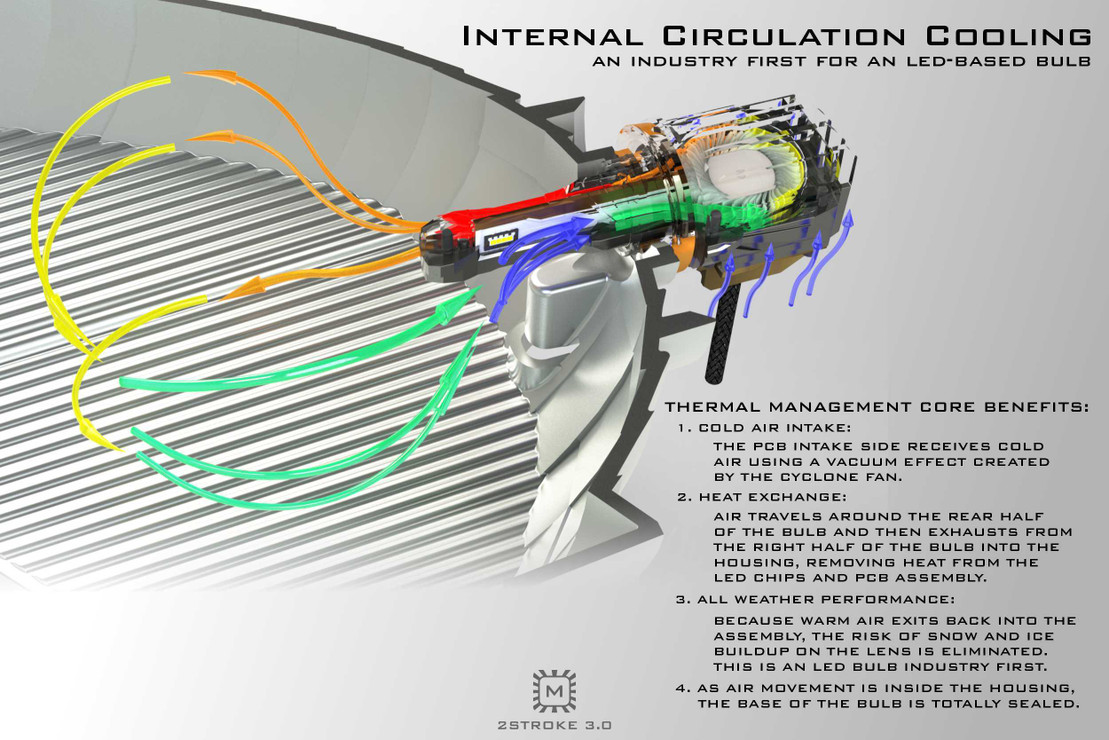
To illustrate how the heatsink works in the Morimoto 2Stroke 3.0, here is a diagram of how cool air will enter the 2Stroke through the front. Then passing through the internal fan and out the heat extractor on the opposite side of the bulb stalk.
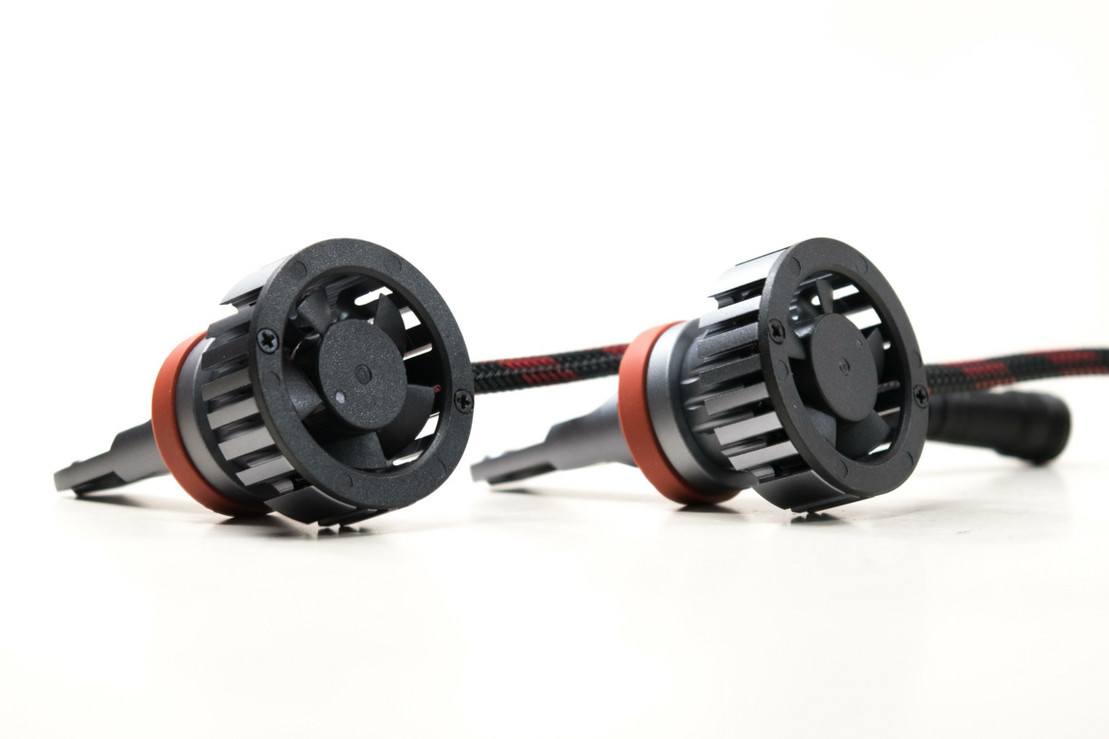
If you are using any of these fans and your vehicle has a dust cover over the bulb, you can still use the dust cover. The difference here is that if you are driving off-road and through dirty conditions, you will need a dust cover to protect your bulb’s fan, particularly with an external fan. Then, depending on the size of your bulb, you may also need an aftermarket dust cover that gives you more room.
We sell dust covers in a number of shapes and sizes.
LED Chip Orientation
When installing your bulb, the direction that you align it in will be determined by the bulb you are using. We will walk you through a few examples, but keep in mind every bulb is different and if you hit any roadblocks this article has not mentioned, feel free to drop us a comment or email our customer support at support@theretrofitsource.com.
-
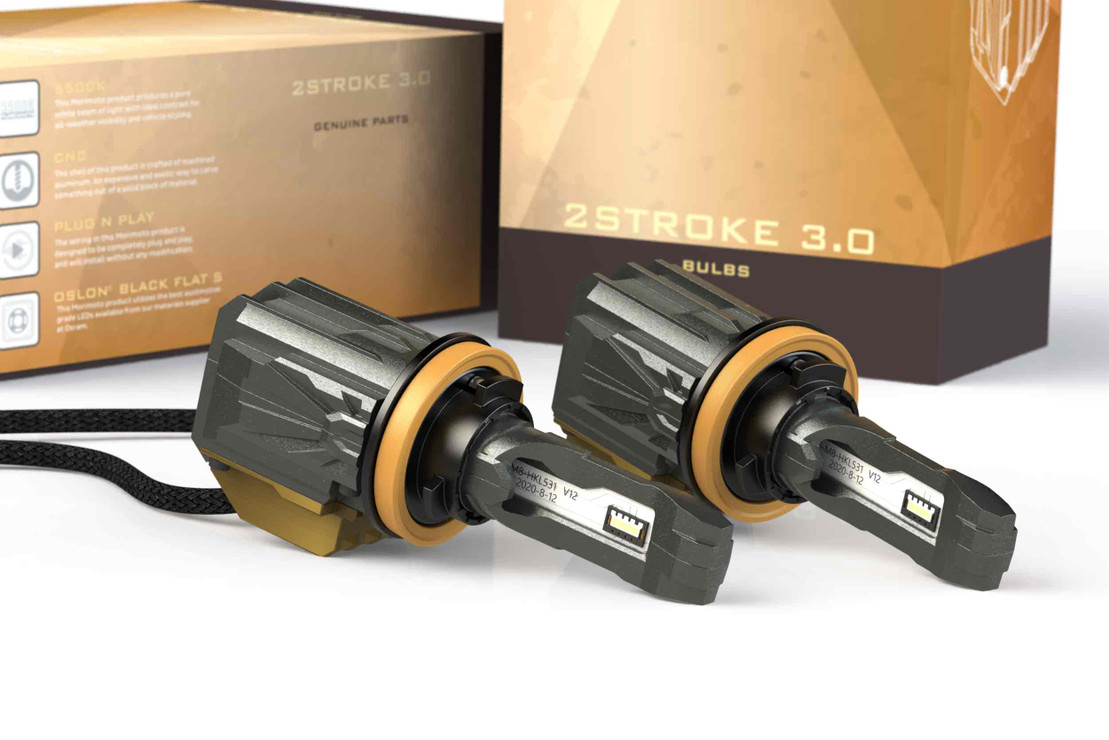
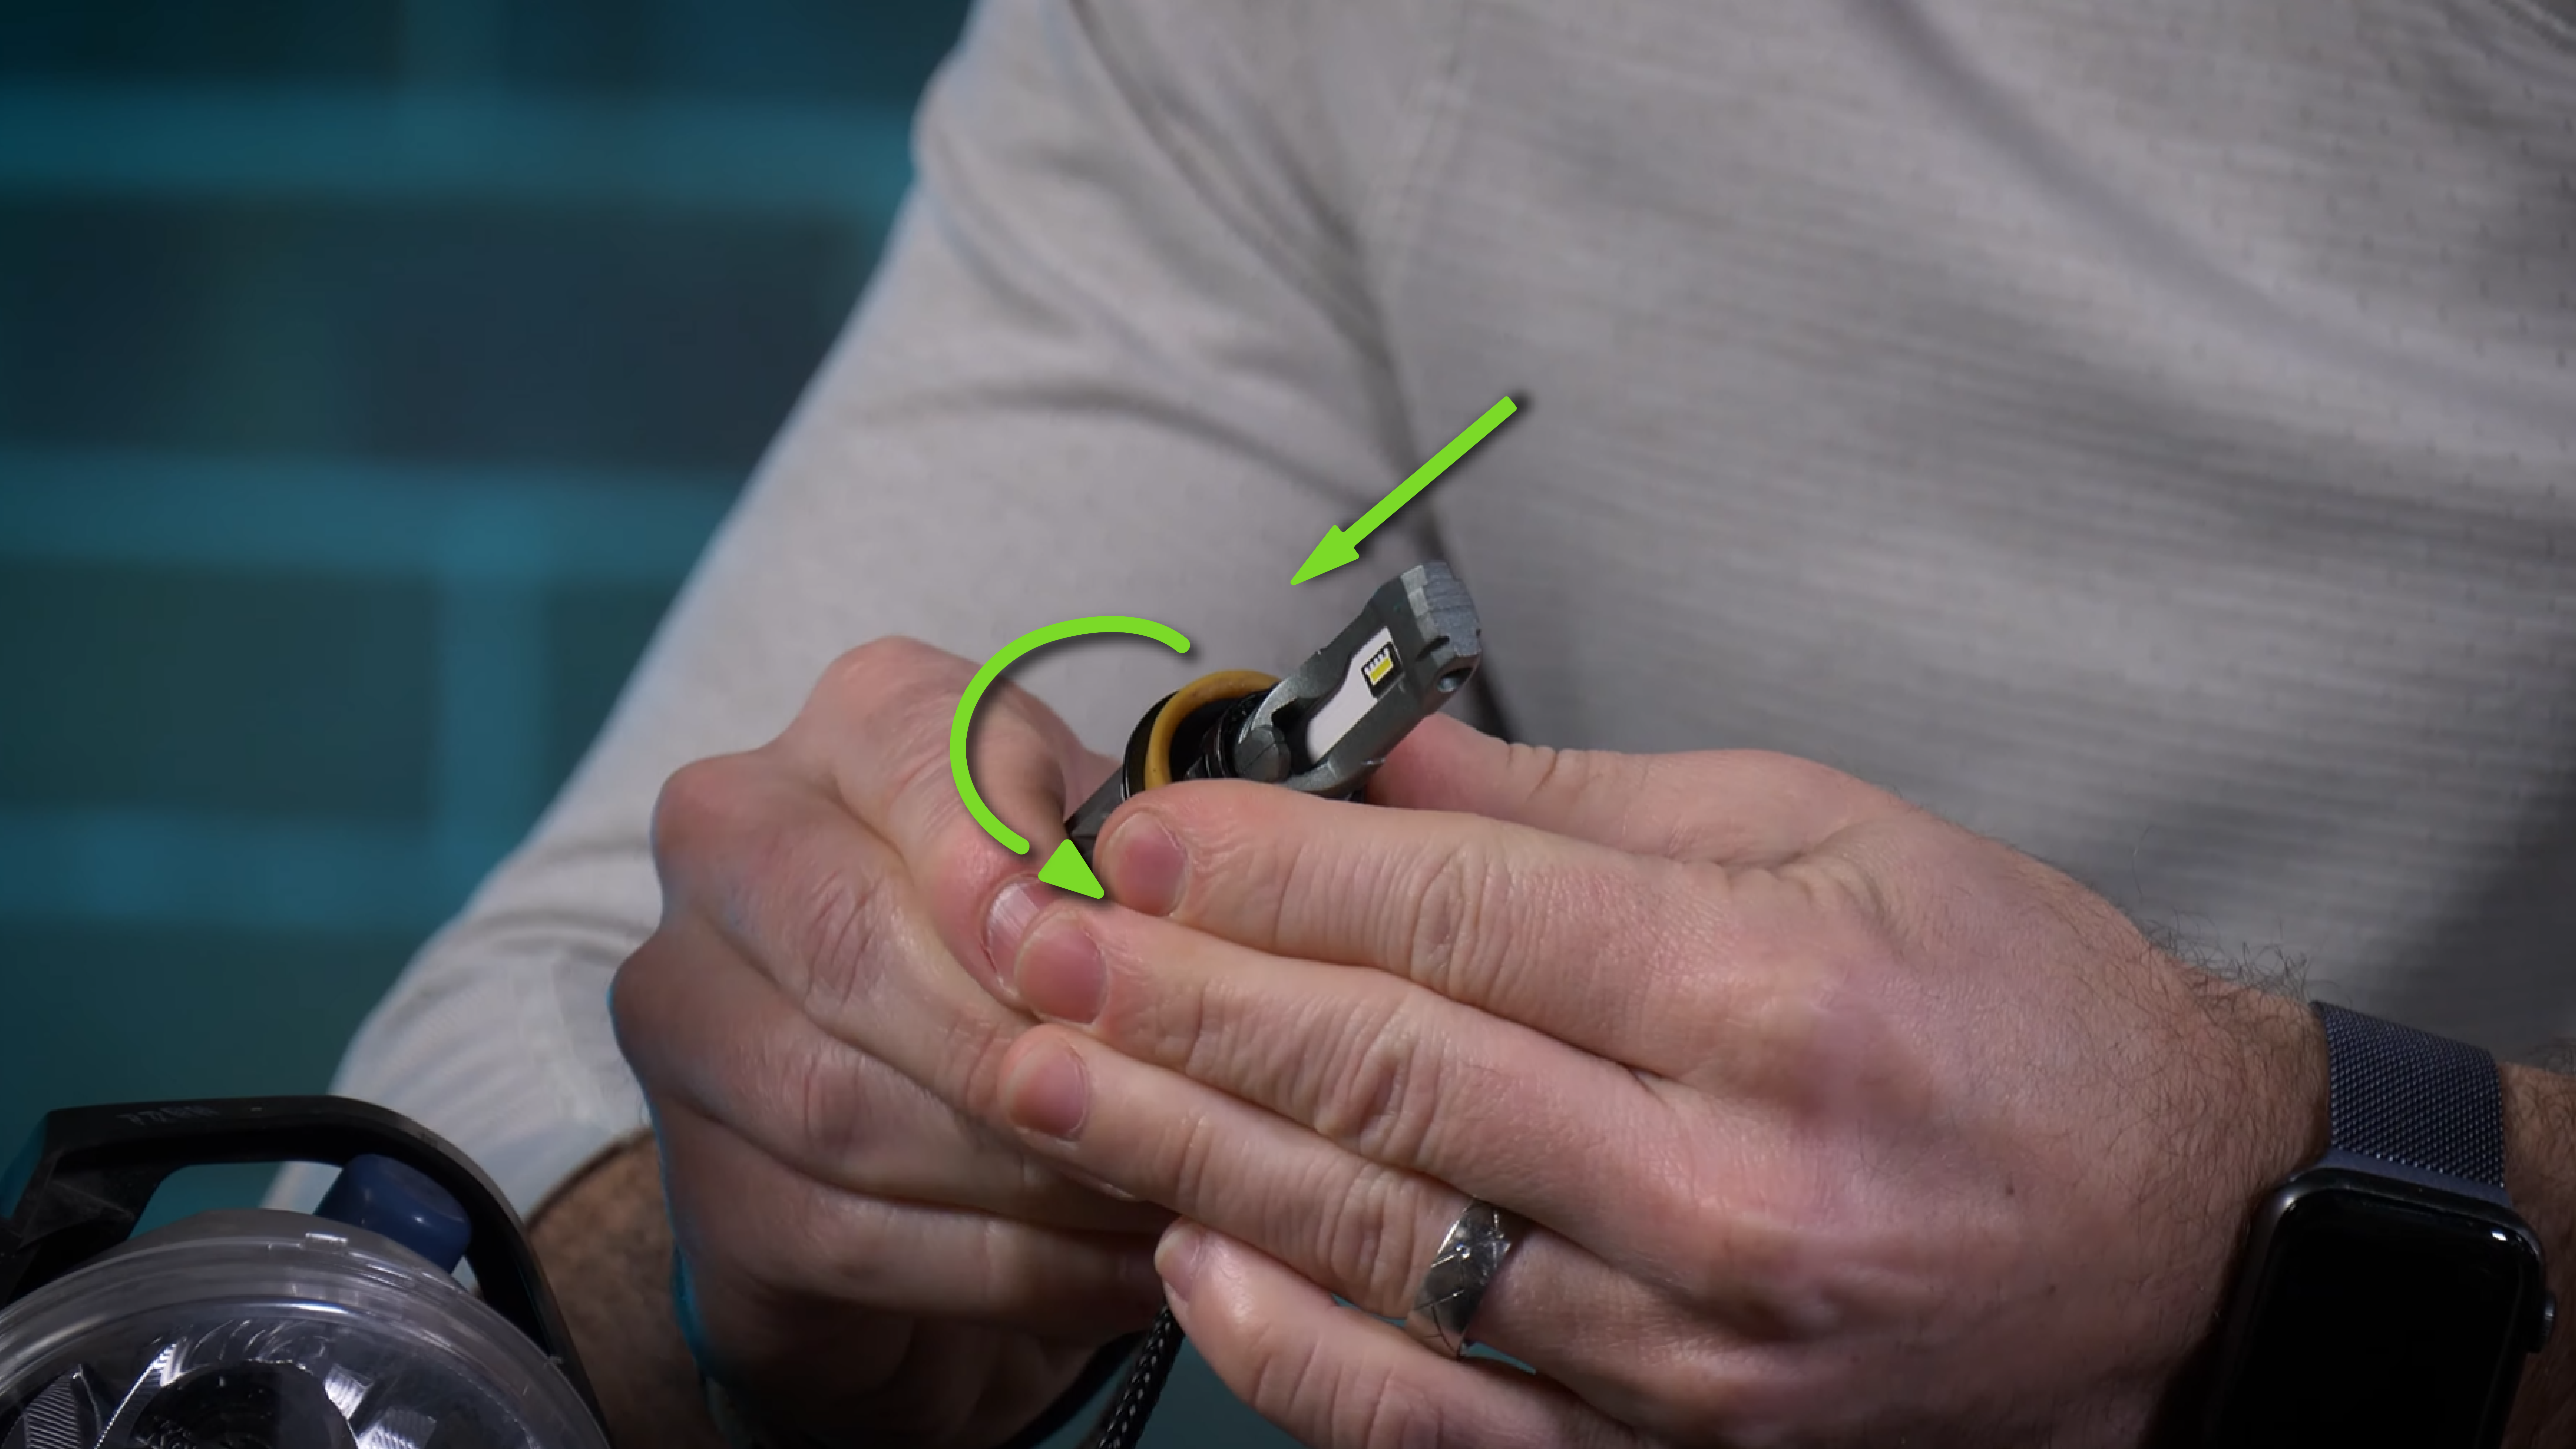
An adjustable bulb, like the Morimoto 2Stroke 3.0, will have a function in which you can twist the bulb into position. This is done by pressing on the collar and twisting. Kind of like with an over-the-counter medicine container.
-
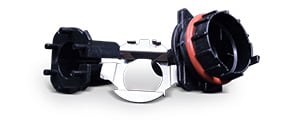
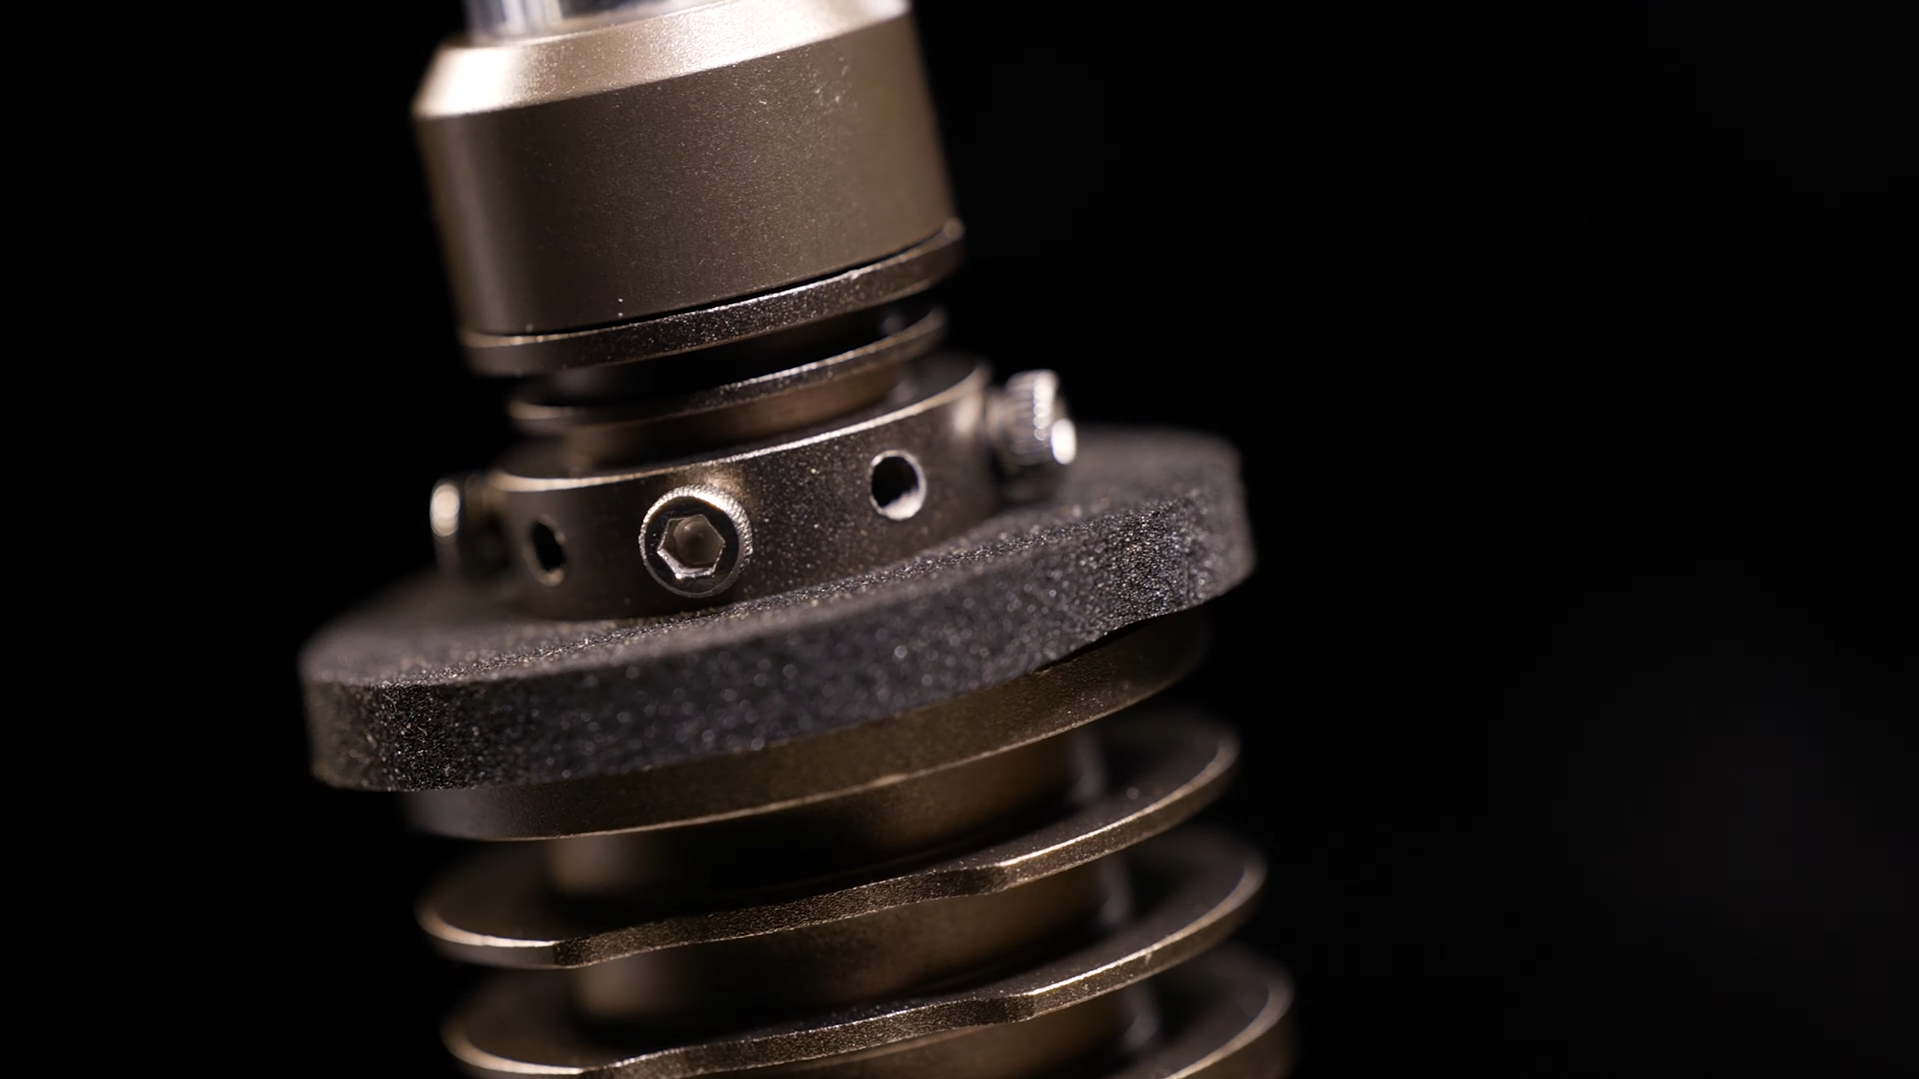
Screw-adjusted bulbs, like the GTR Ultra i-LED Series, use small screws that come with the bulb for you to adjust the collar to fit your vehicle. You still need to rely on the numerical bulb size (ex. 1156/1157, 4257. 7440/7443, etc.), but the actual fitment into your housing can be adjusted with those screws. These bulbs are used for your indicators, but it is still important to bring up this alternative collar.

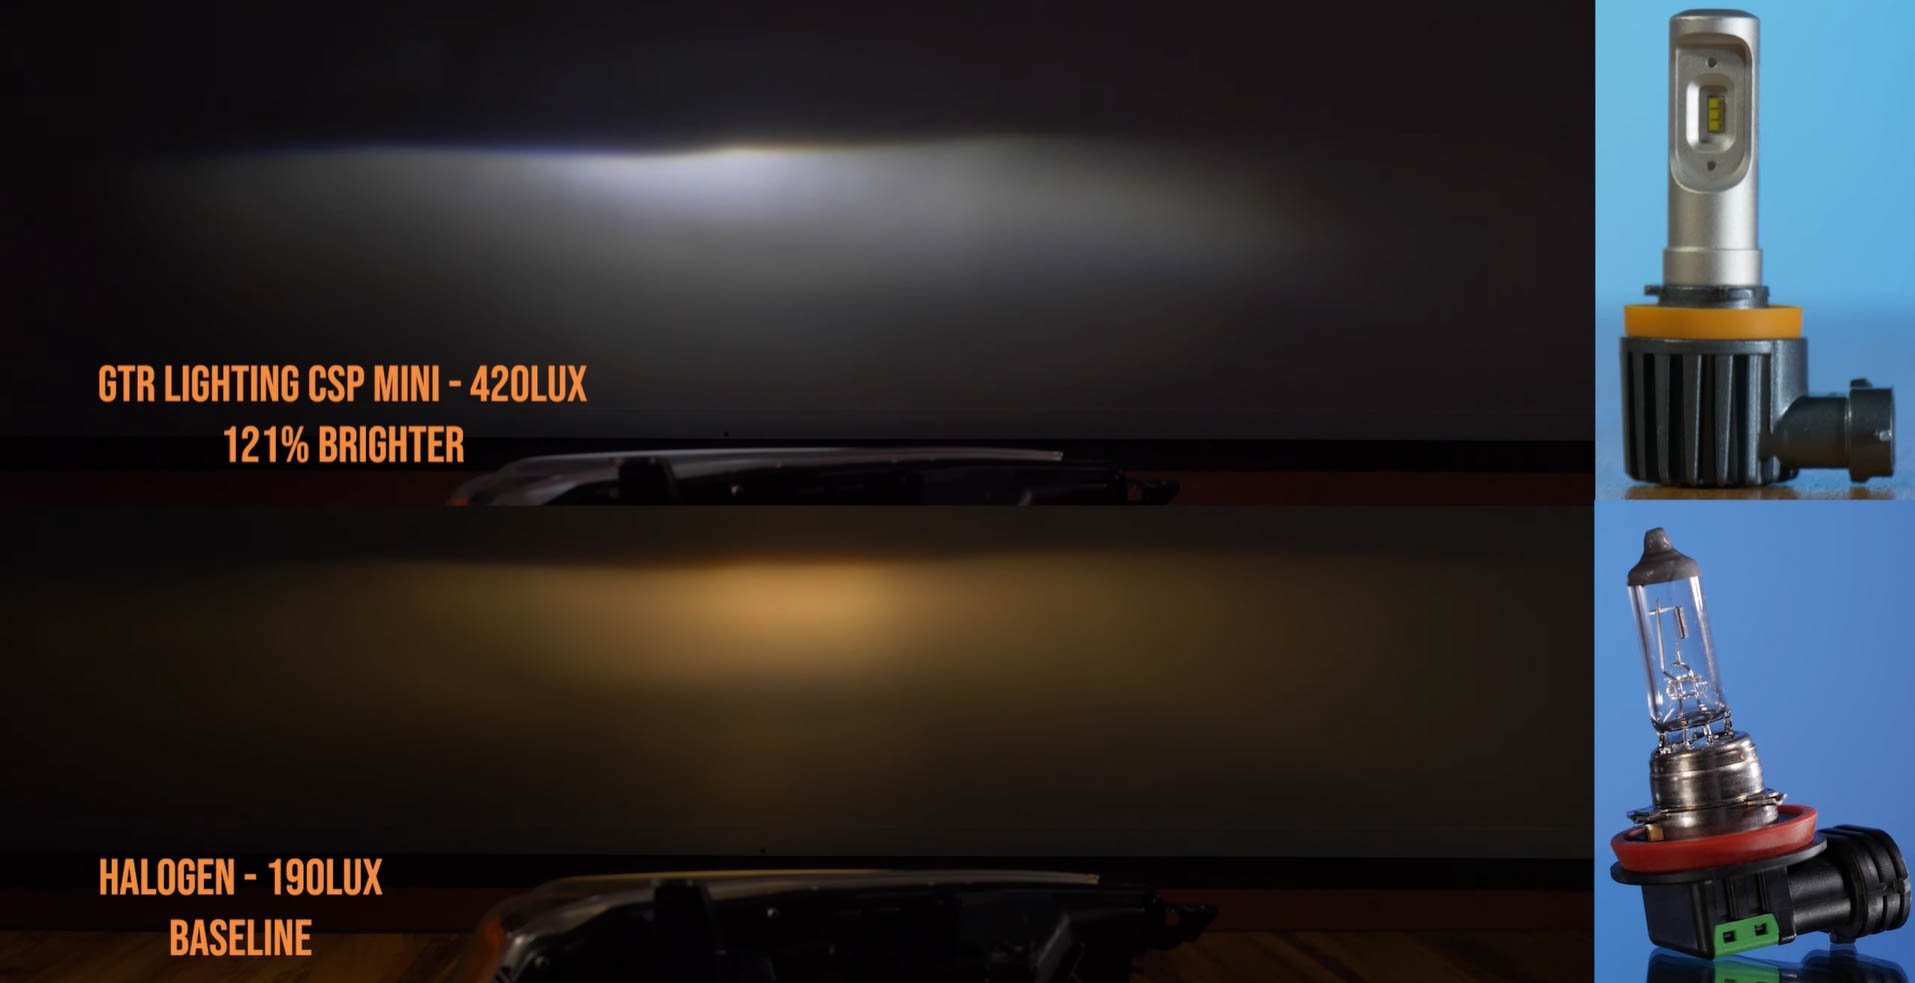
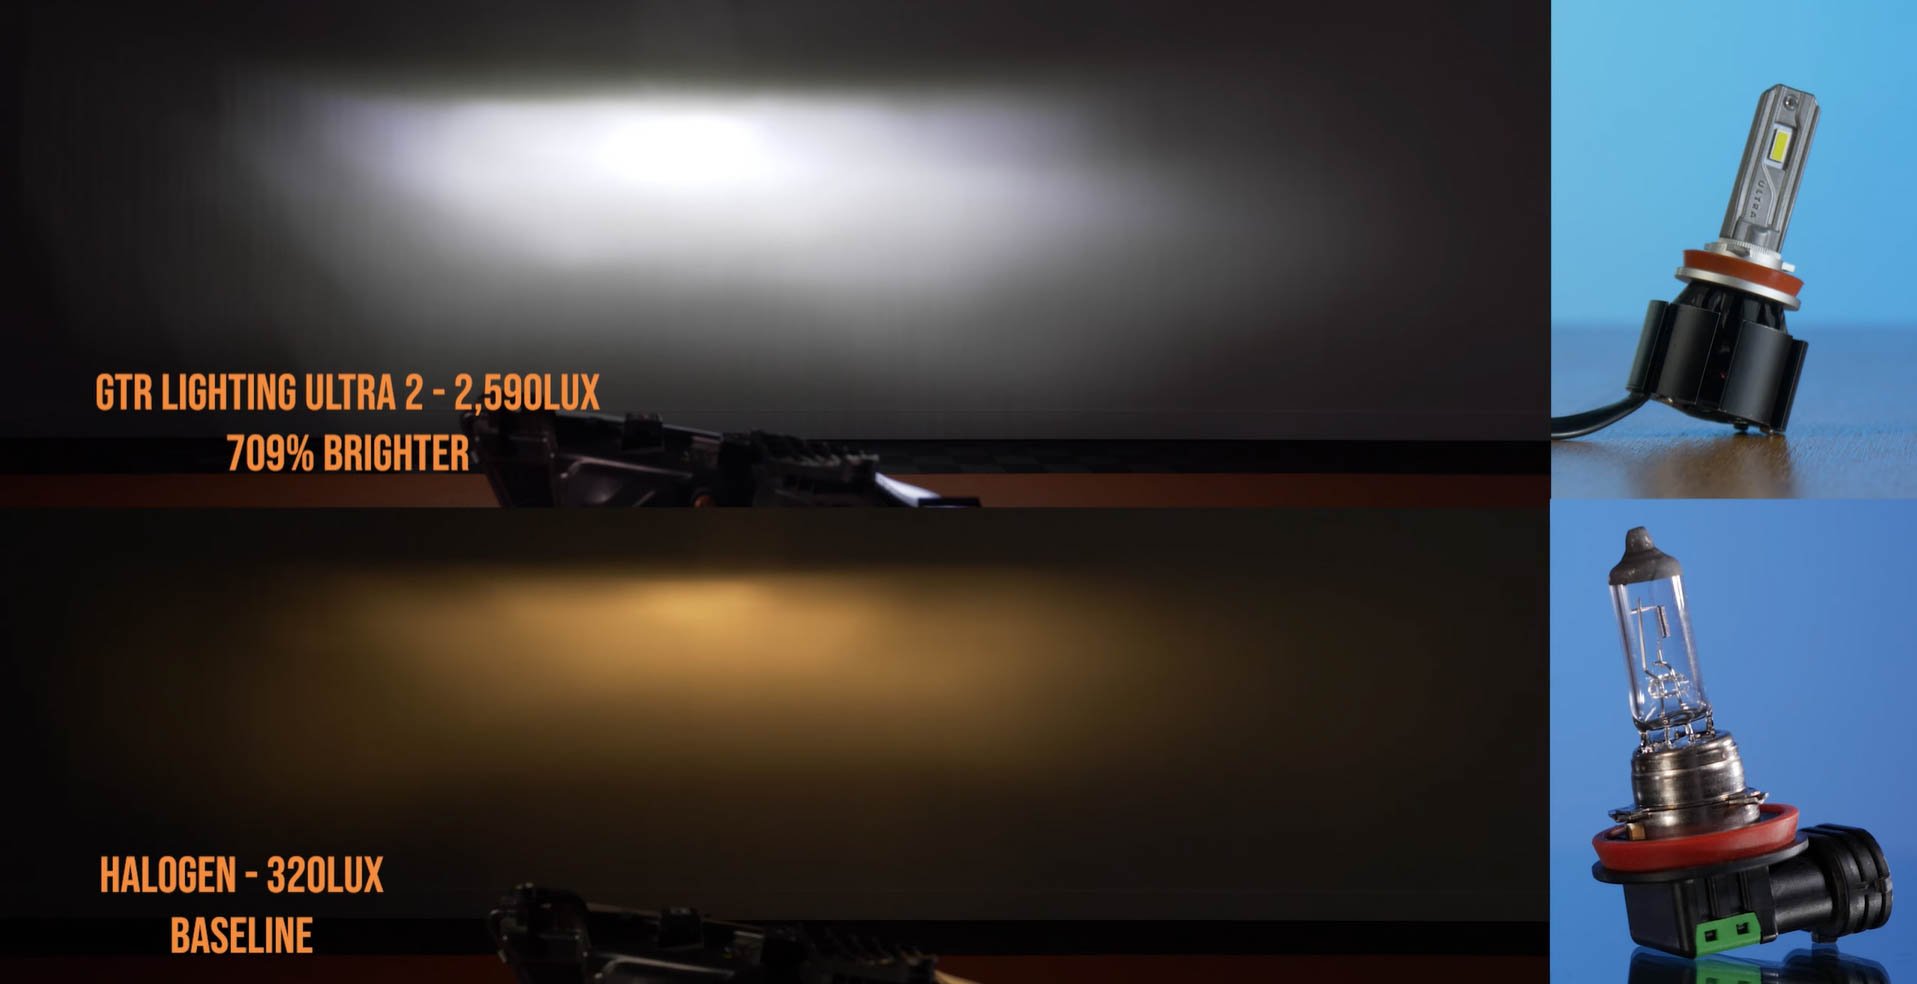
Regardless of what your bulb’s collar looks like, you will want your beam pattern to look a little like pictured below. On the left is a GTR Lighting CSP Mini in a projector housing, and on the right is a GTR Lighting Ultra Series in a reflector housing. We put both up to give you an idea of what a good beam pattern looks like for each style of housing.
| GTR Lighting CSP Mini in a Projector Housing | GTR Lighting Ultra 2 in a Reflector Housing |
 |
 |
INSTALLING THE BULB
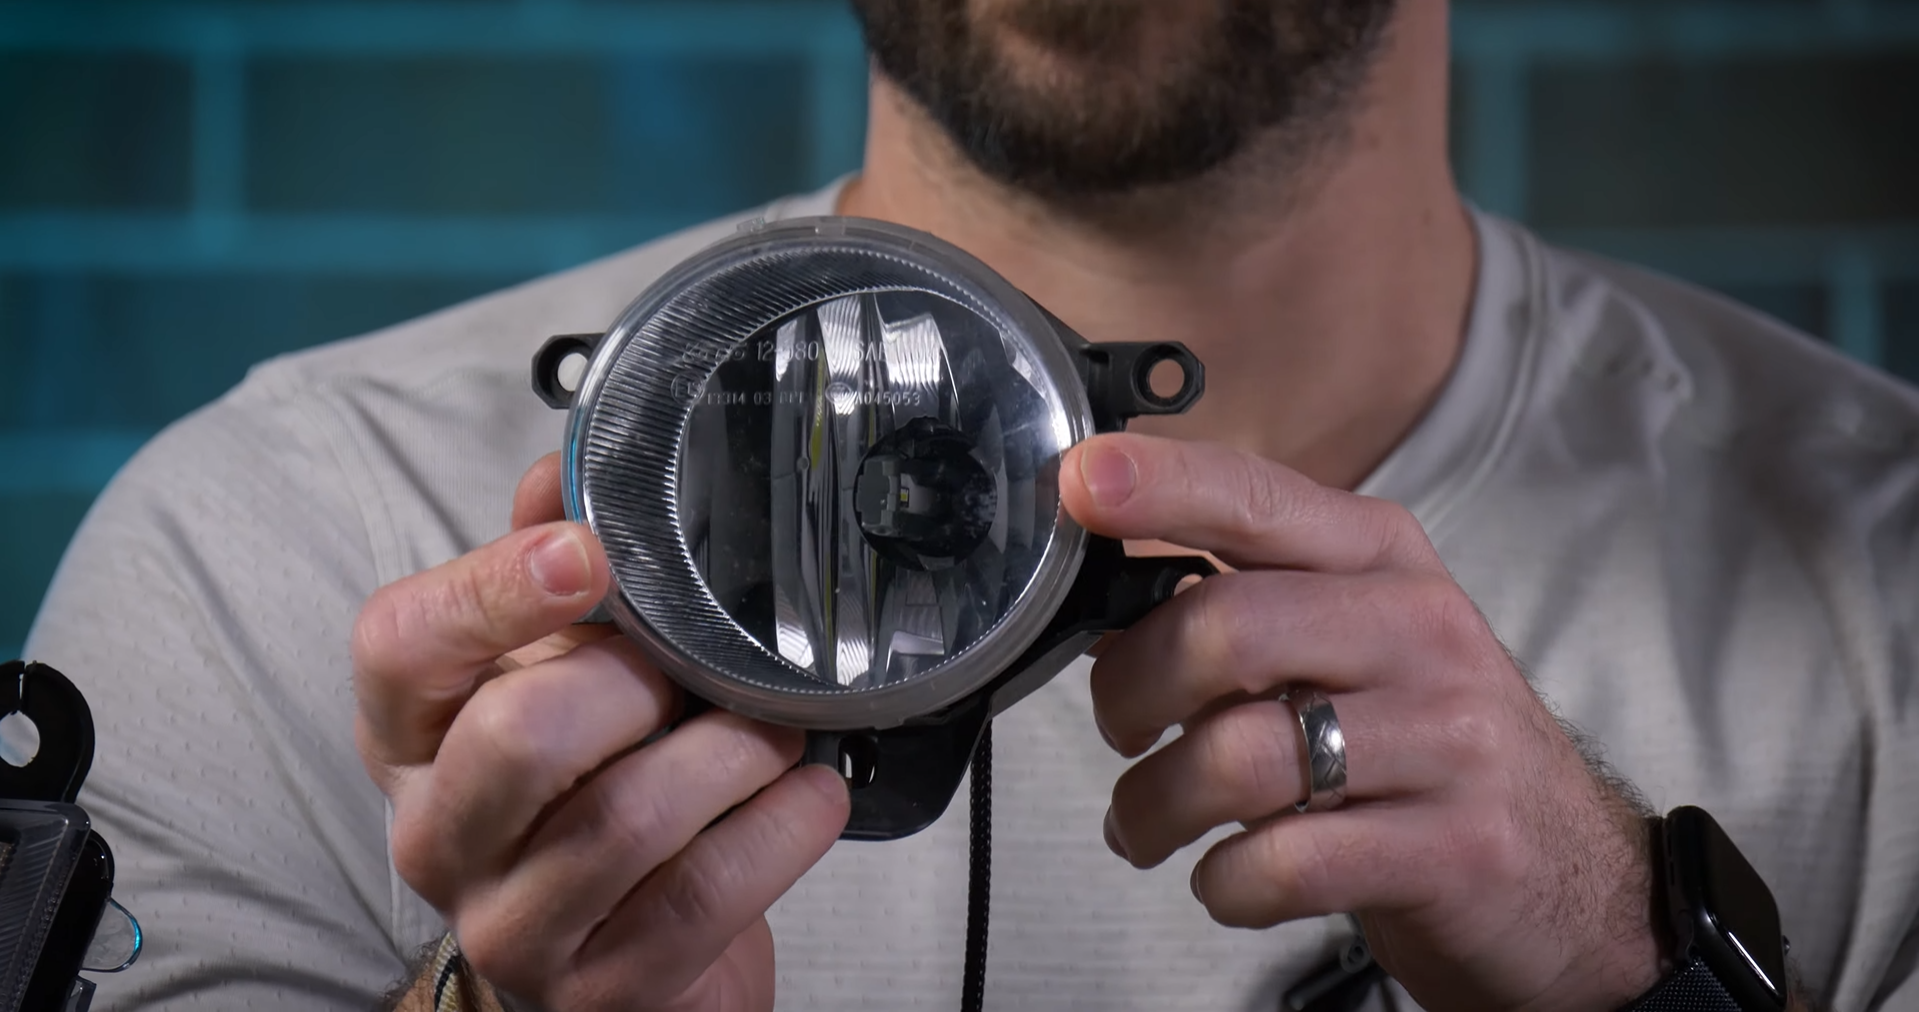
As for actually getting the bulb into the housing, it is pretty simple. Once you gain access to the rear of your headlights, which can be done from either your hood or by removing your fender liner, remove the dust cover.
Then, unscrew the bulb in a counterclockwise direction. Removing the OEM bulb may be a little difficult if it has not been done before.
After the bulb has been removed, take your new LED bulb and place it in the housing by twisting it in. Twist enough to where you feel resistance.
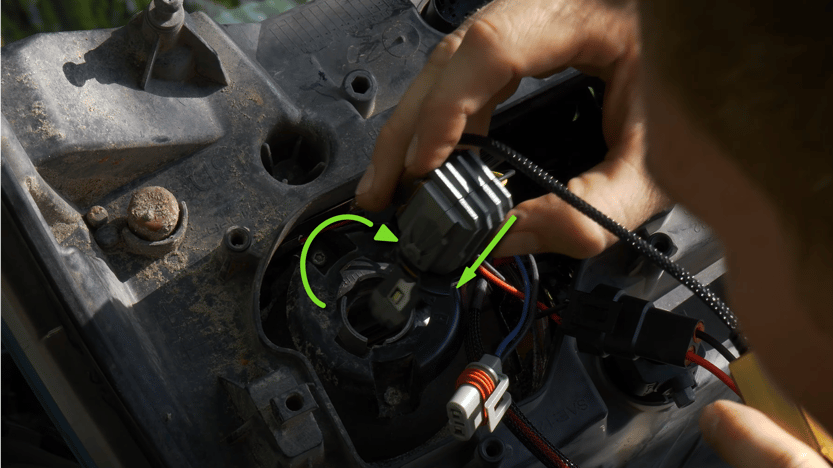
You can then plug in your bulb to the OEM connector and place the dust cover over the bulb if applicable.
CK Wiring and Factory Connector Issues
All of the bulbs we sell can be directly plugged into your OEM connectors. Unfortunately, it is not always that easy with respect to the way the connection works with the OEM electrical center.
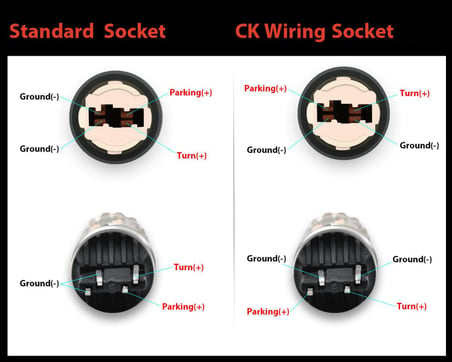
One thing to look out for when installing LED bulbs is to know if they use a CK socket. Also known as SCK, SACK, or SRCK and found at the end of a bulbs’ size number (like this: 3157CK, 3157SACK, 3157SRCK), CK sockets are abnormal and only a handful of vehicles made in certain years, from a few manufacturers use a CK wired socket.
Sometimes, car and truck manufacturers will change the type of wiring configuration they use to power the turn signals and brake light bulbs. Normally you would have Positive and Negative terminals on either side of the bulb, but the “CK” type wiring is different.
You can see a full and continually updated list of vehicles that require this on a blog post we have here.
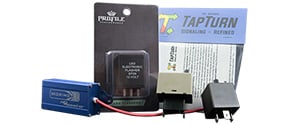
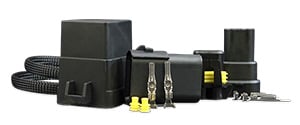
As for factory connector issues, some lights can cause flickering or be too dim, depending on your vehicle. There are several reasons for this, but some fixes include altering the Daytime Running Light (DRL) fuse or as simple as installing a resistor kit to prevent hyper flashing.
CONCLUSION
We hoped this covered all the bases and important details you will need to know for installing LED bulbs on your car.
If you have any further questions, feel free to drop us a comment or email our customer support at support@theretrofitsource.com.
If you are wanting to learn how to aim your headlights after you have gotten your LED bulbs installed, check out our video below. While you are there, make sure to like and subscribe to our channel for the latest lighting upgrades for your vehicle.