.png)


What makes a Good Beam Pattern?
Everyone has experienced it. You are driving down the road at night and someone either passes you or hogs up your rearview mirror and absolutely blasts you with the power of their LED, or even halogen lights. We get it. It is a huge pain in the bumper. As the Confucian quote reads, “Don’t do unto others what you don’t want done unto you.”

Today we will look at what makes a good beam pattern and touch on how to aim your headlights. These two components should set you on your way to not blinding oncoming drivers. You will be thankful that no one is flashing their lights at you and the drivers will be thankful that they can see properly.
What is a Beam Pattern?
Your beam pattern is the light emitted onto a surface. It is generated by either your headlight housing, the headlight lens, the bulb itself, or a combination of all three. The type of headlight and bulb you choose, assuming you are changing your OEM parts, affects the beam pattern.
The best beam pattern will have clean cut-off lines at the top of the beam, along with a spread that is wide enough to reach a little bit beyond the road. There will also be clearly defined hot spots that give you quality forward lighting so you can see far down the road.
Examples of Good Beam Patterns
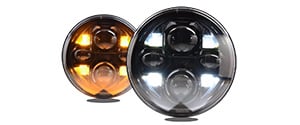
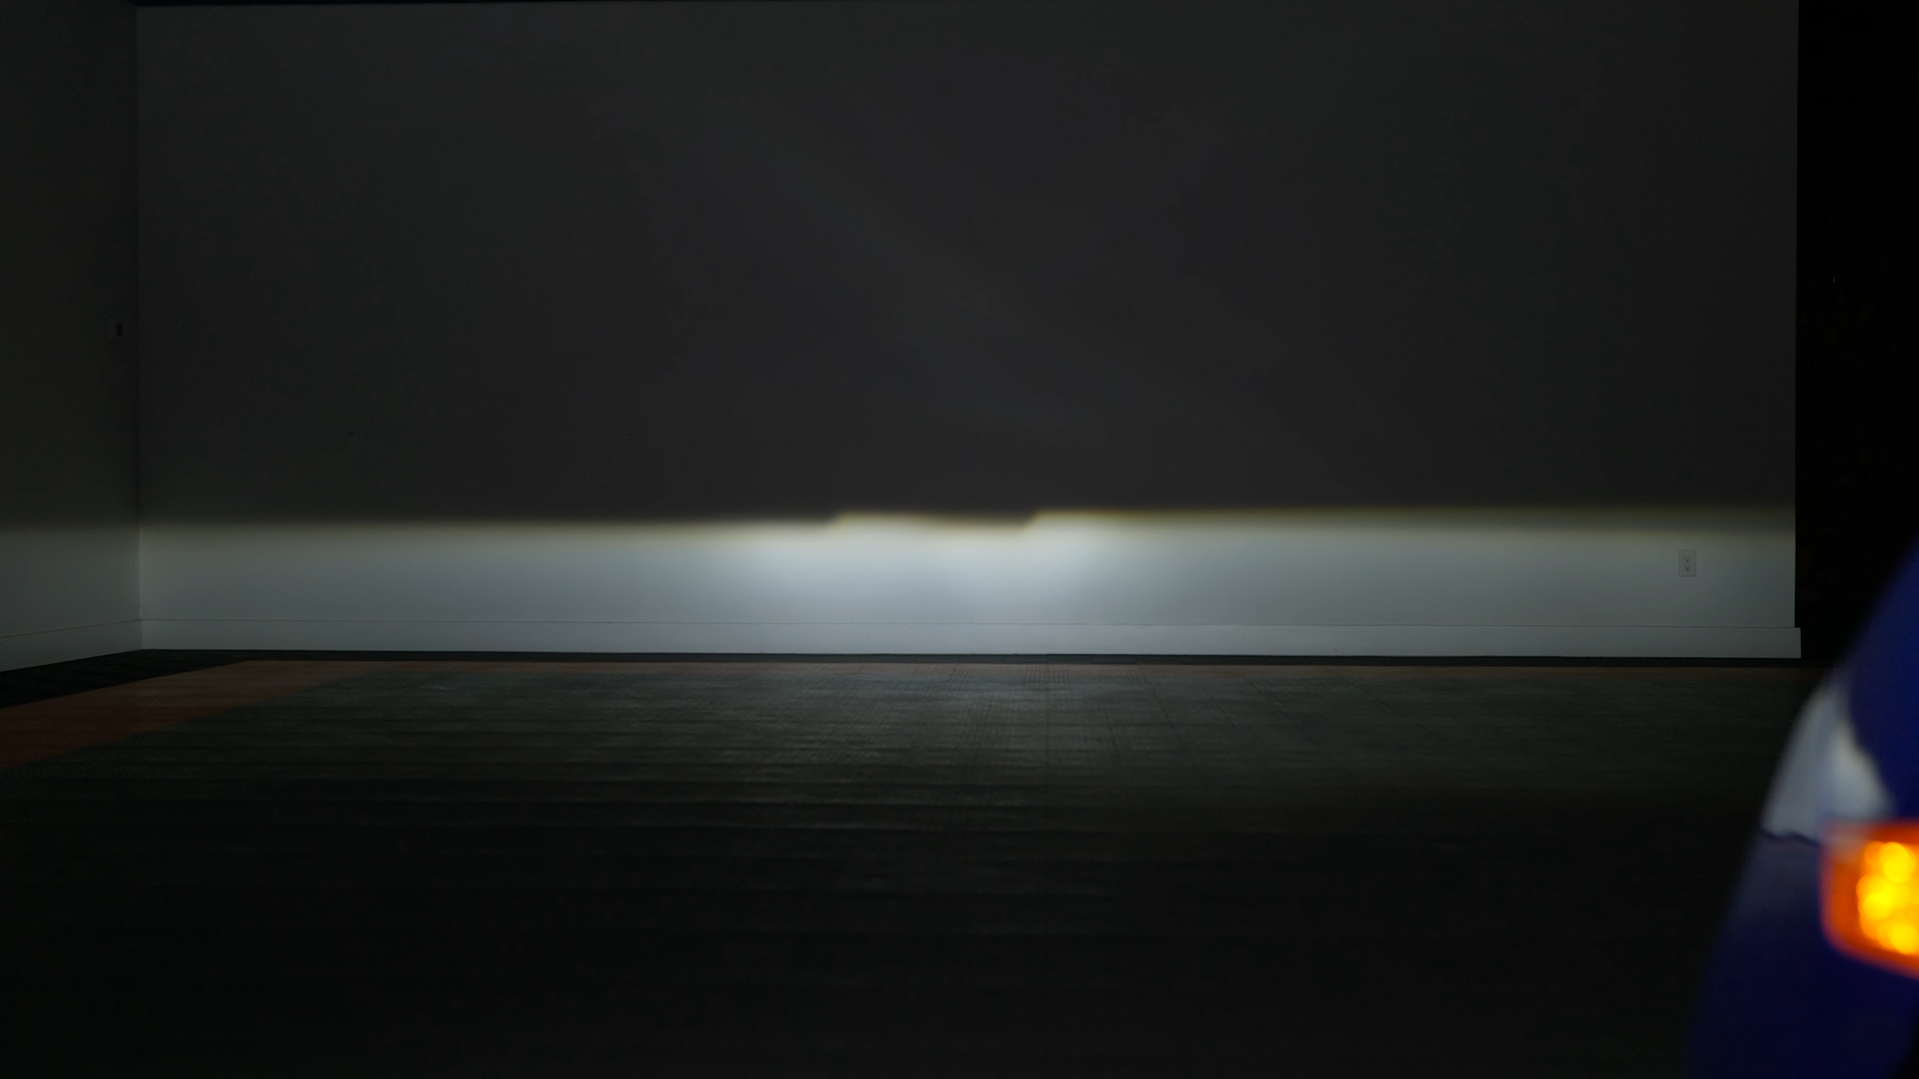
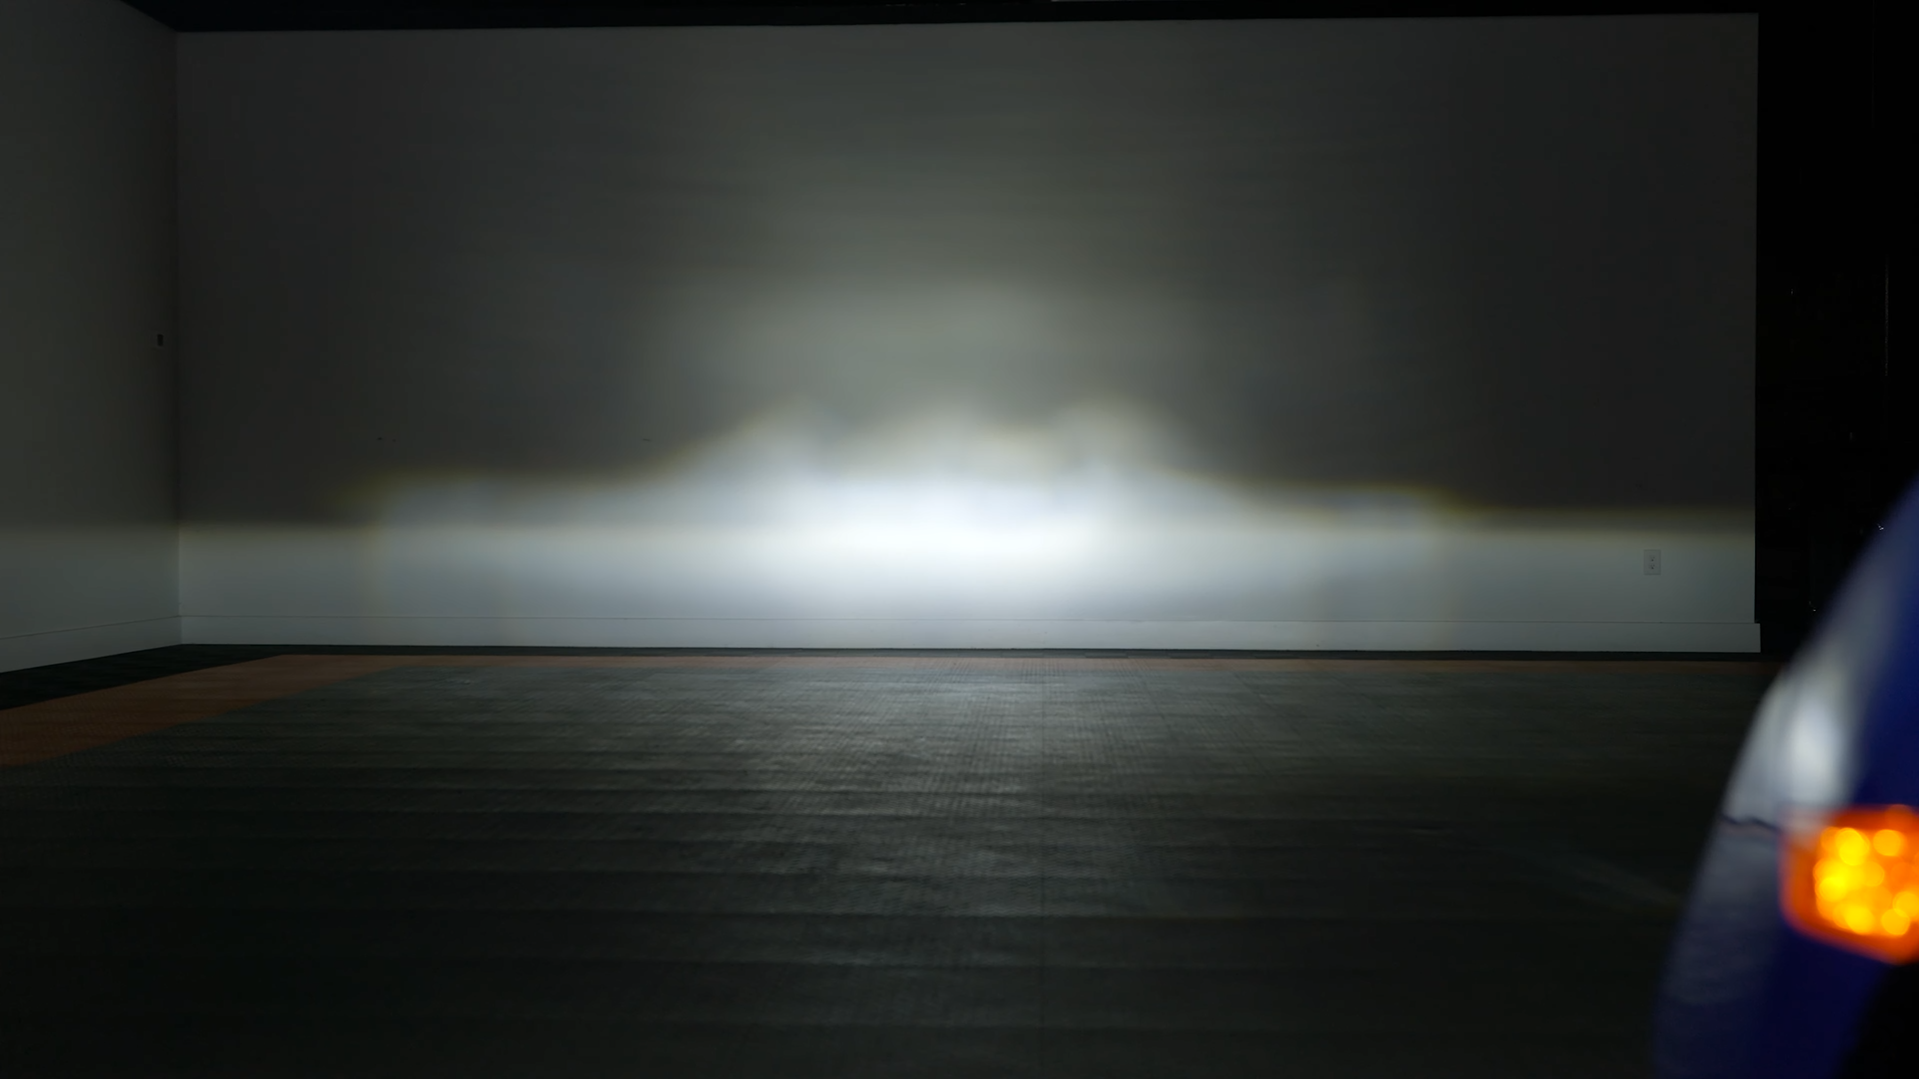
This example here is from a fully LED Morimoto XB LED headlight. It is the perfect representation of a quality headlight beam pattern. With this light, you have super clean cut-off lines, great width, light distribution, and color, and you also have a nice shape to the pattern. That shape is what prevents oncoming drivers from being blinded by the light’s power.
| Low Beam | High Beam |
 |
 |
However, not everyone reading this has one of the vehicles Morimoto offers a headlight housing for, and are just looking to up your lighting game and promote safe driving.
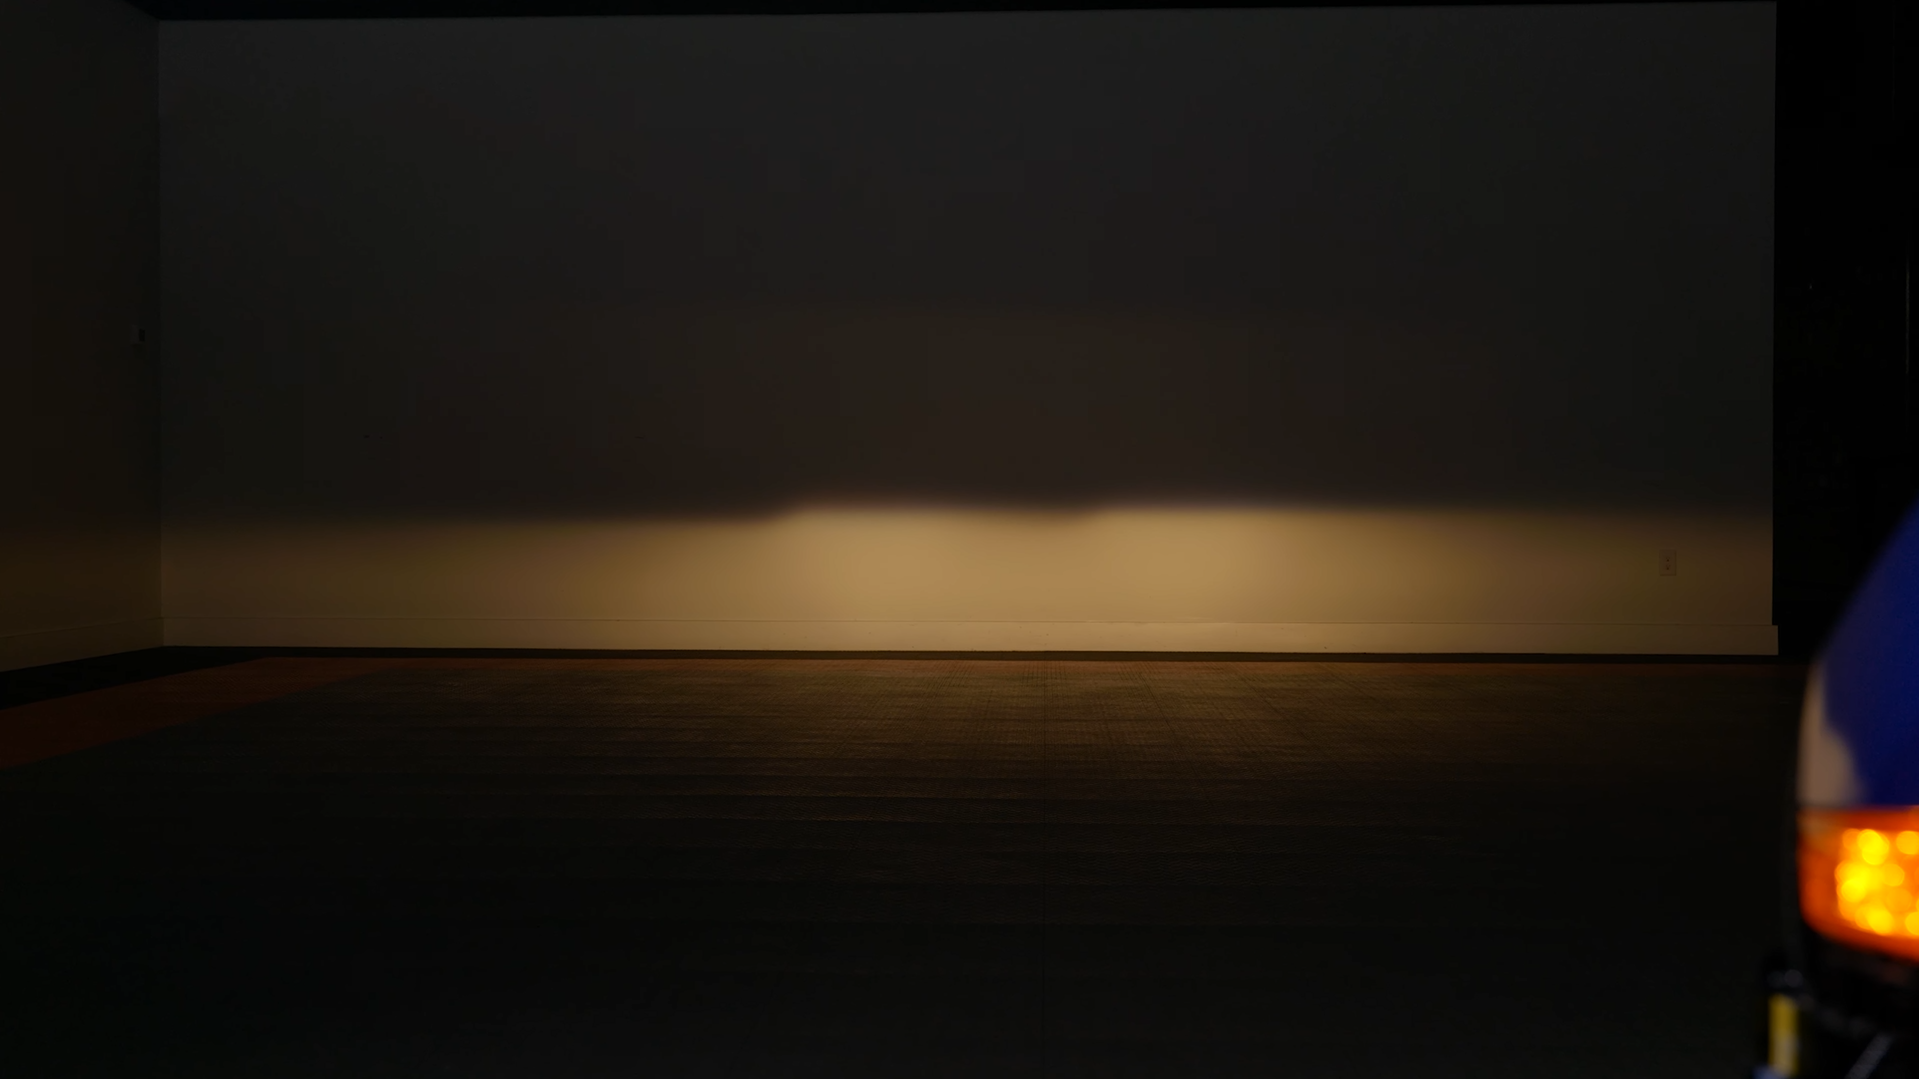
If you have a set of projector headlights with the OEM halogen bulb installed, a good beam pattern will look a little something like below. Clearly, the brightness is nowhere near what the Morimoto offering has, but it does hold similar physical characteristics of the XB LED headlight beam pattern.
| Low Beam | High Beam |
 |
 |
Here is an example of an LED bulb in a reflector housing. This beam pattern is pretty good, but not the best. Similarly, to the last example we looked at, the pattern is not as bright as the XB LED headlight. This one also does not have a ton of width to it.
| Low Beam | High Beam |
%20Crop.jpg?width=3982&name=Honda%20Fit%20GTR%20Lighting%20LED%20%20(6)%20Crop.jpg) |
%20Crop.jpg?width=3908&name=Honda%20Fit%20GTR%20Lighting%20LED%20%20(3)%20Crop.jpg) |
Just to show an example, here is a poor headlight beam pattern. You can clearly tell they have no definite form or are coherent in respect to the hot spots and beam spread.
Aiming Your Headlights
If your headlights do not look similar to any of the lights we just looked at you may need to re-aim them. The only other explanation is that your headlights are either not of good quality, or the bulb you are using does not work well with the headlight housing you have.
Tools Needed for the Job:
Masking Tape
Tape Measure
Screwdriver or Socket Wrench
A wall
Step 1. First thing, pull your vehicle up to the wall about three feet away, so you've got some space between your front bumper and the wall itself.
You are going to want to make sure that if one person typically drives your vehicle, you want to have somebody sitting in the driver's seat while you're doing the aiming. If your car is typically weighed down with heavy equipment, you are going to want to simulate that for this also. If you would like to be precise about this, have about half a tank of gas in your vehicle.
Step 2. Identify the vehicle's center and add a vertical piece of painter's tape or something to indicate the center. Then, identify the center of each headlight and add another vertical piece of tape on the wall in front of each headlight.
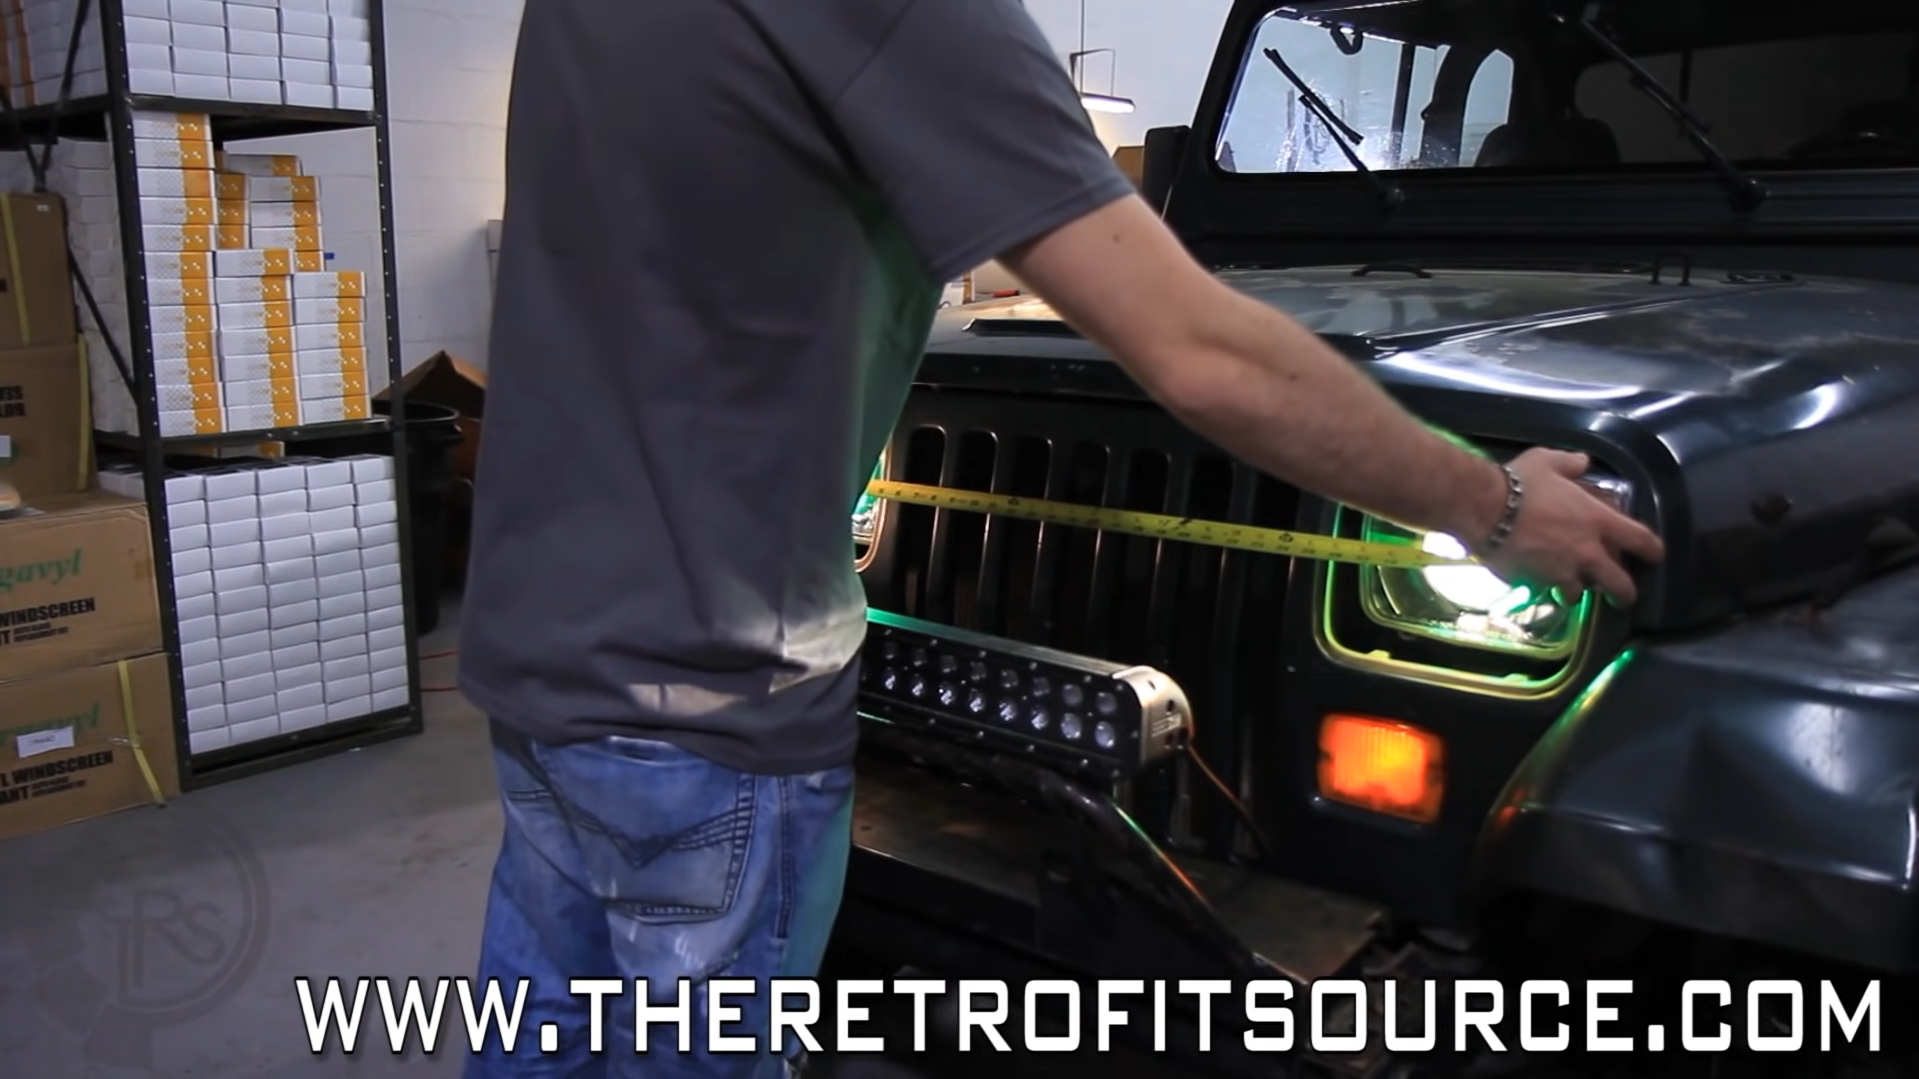
You're going to want to make sure that the distance between the center and your headlight marking is the same on the wall. You can identify the center of your headlight by that little dimple that's in the plastic.
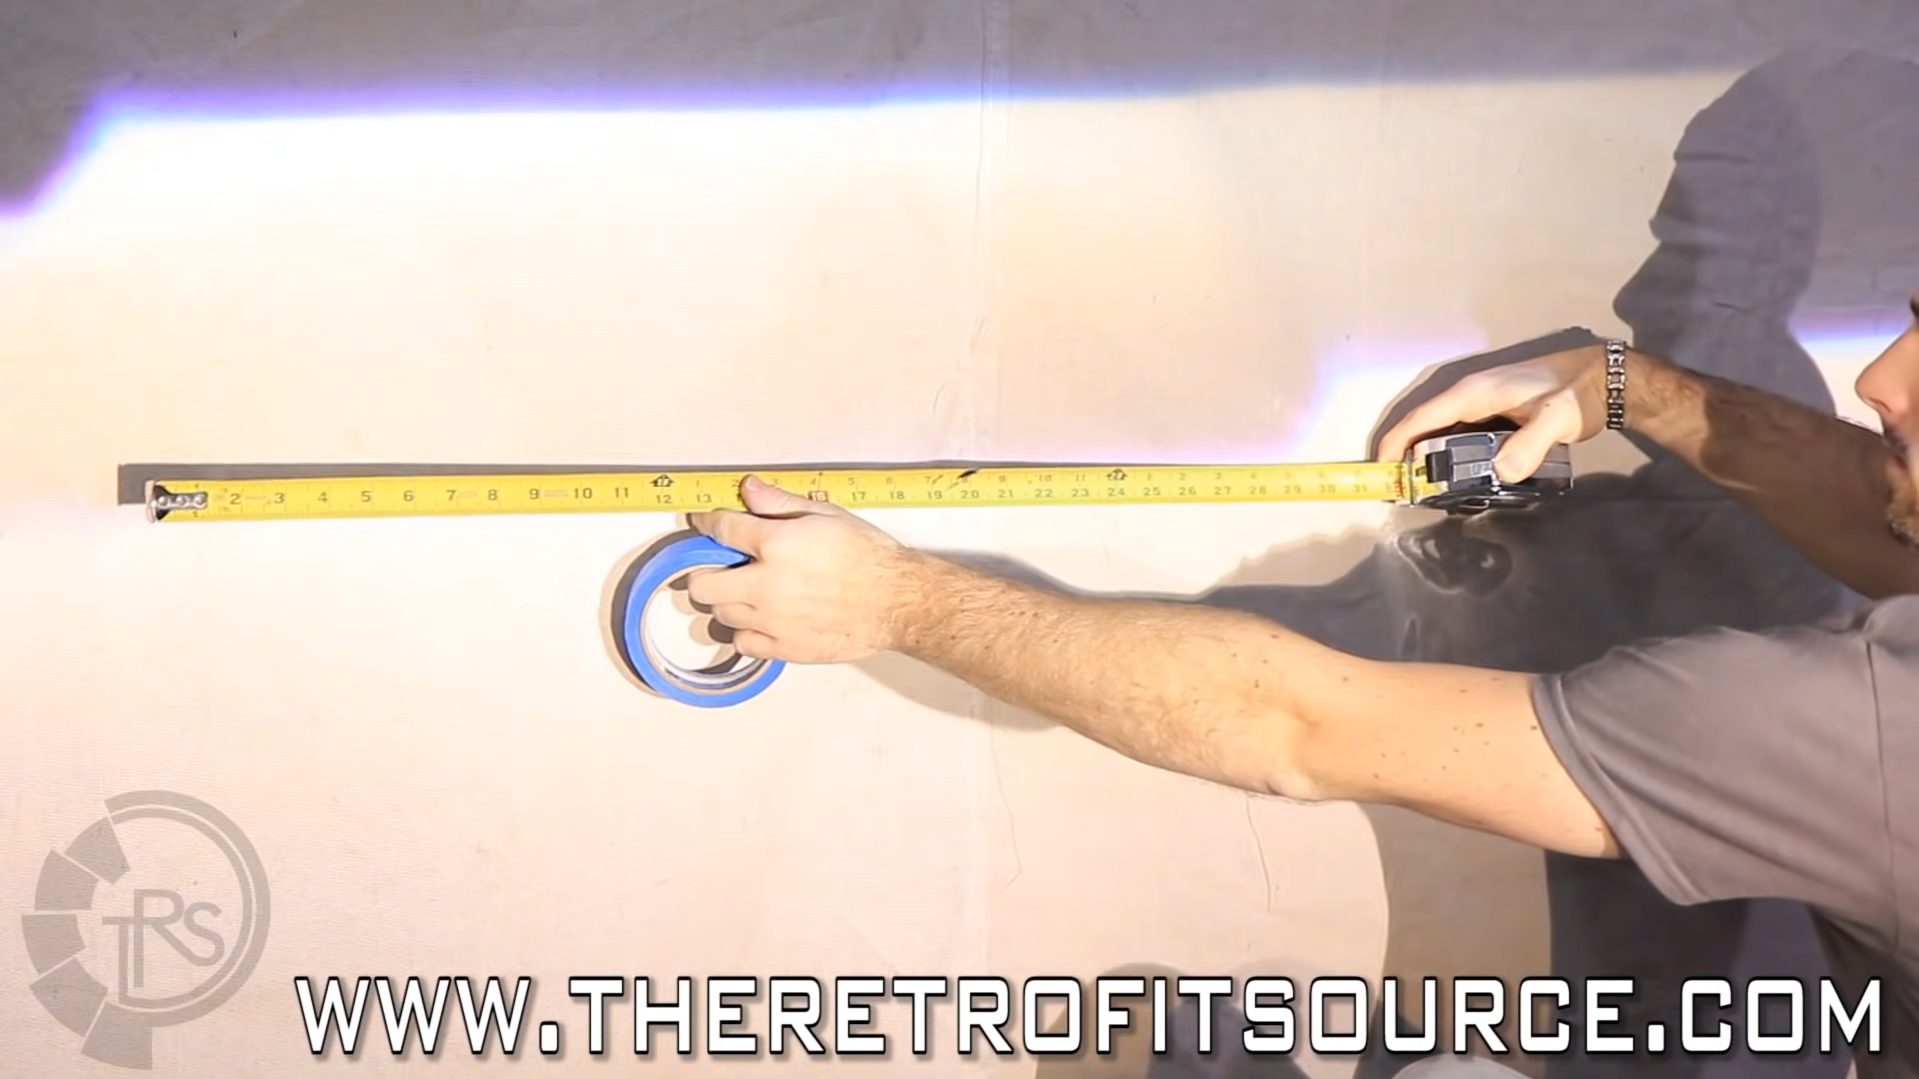
Step 3. Now, take a tape measure and measure from the ground to the height of the center of your headlight. This measurement is the height of the dimple on your headlight from the floor up. Measure that distance up to the tape on the wall and make a mark on the tape. That should precisely identify the center of your headlight on the wall.
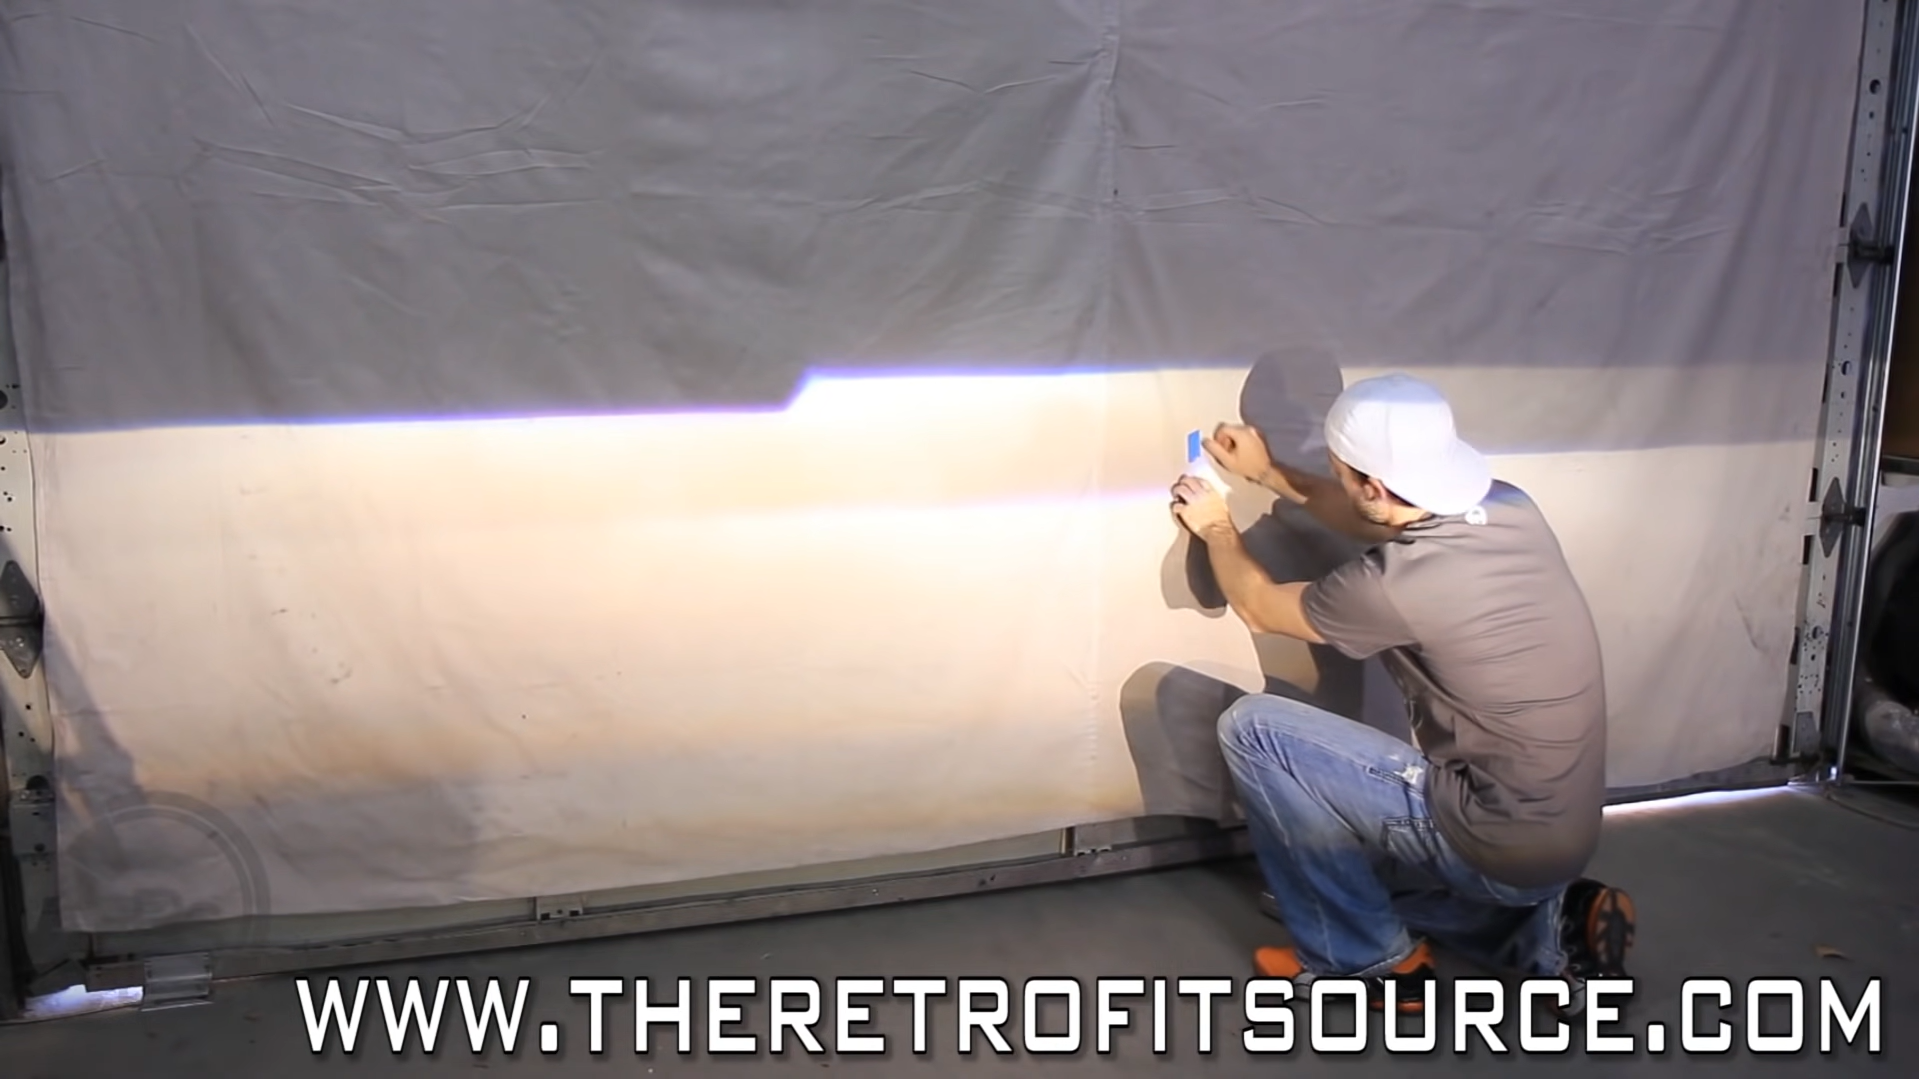
Measure two inches down and make a mark as well. Place a horizontal piece of tape across just above the lower mark. Repeat for both headlights.
Step 4. Ensure you have enough room and pull your vehicle 25 feet away from the wall. Some manufacturers specify different distances closer or farther away. So before doing this yourself, check your owner's manual to make sure you're doing it right.
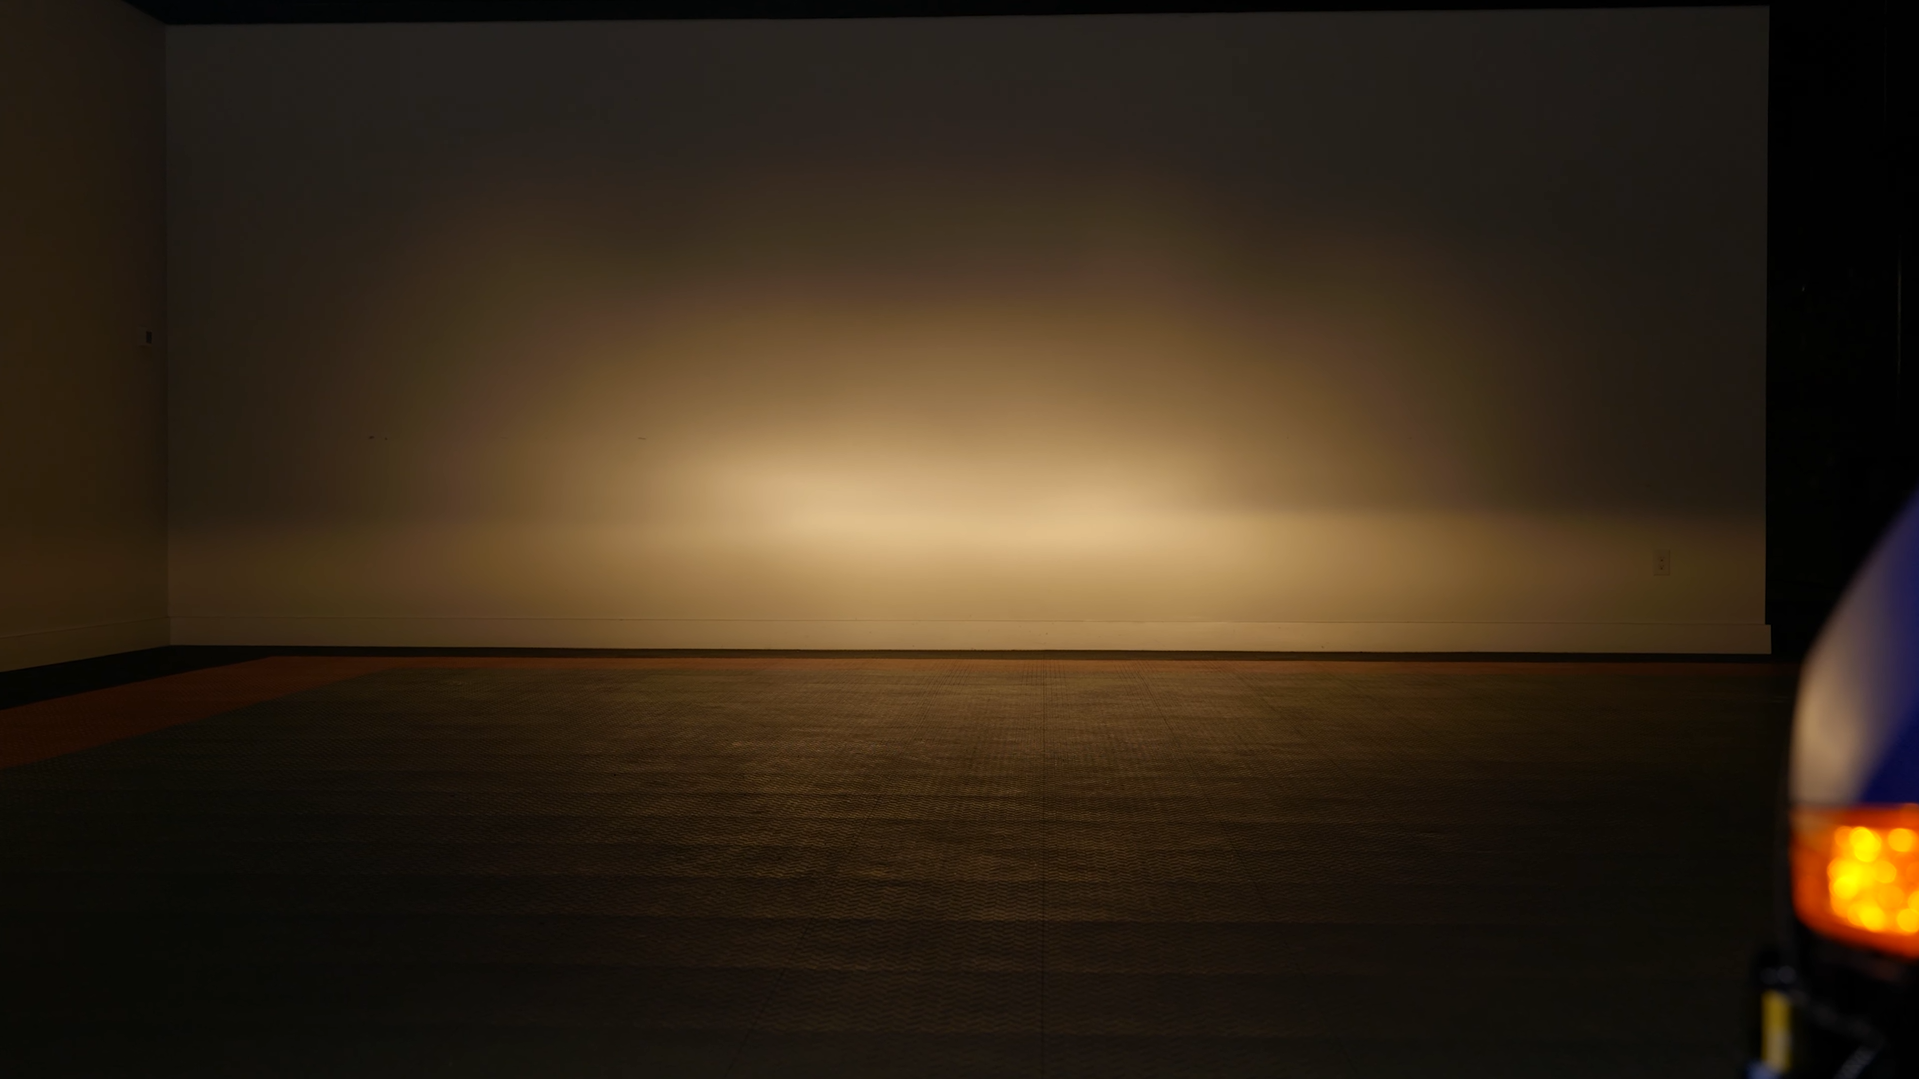
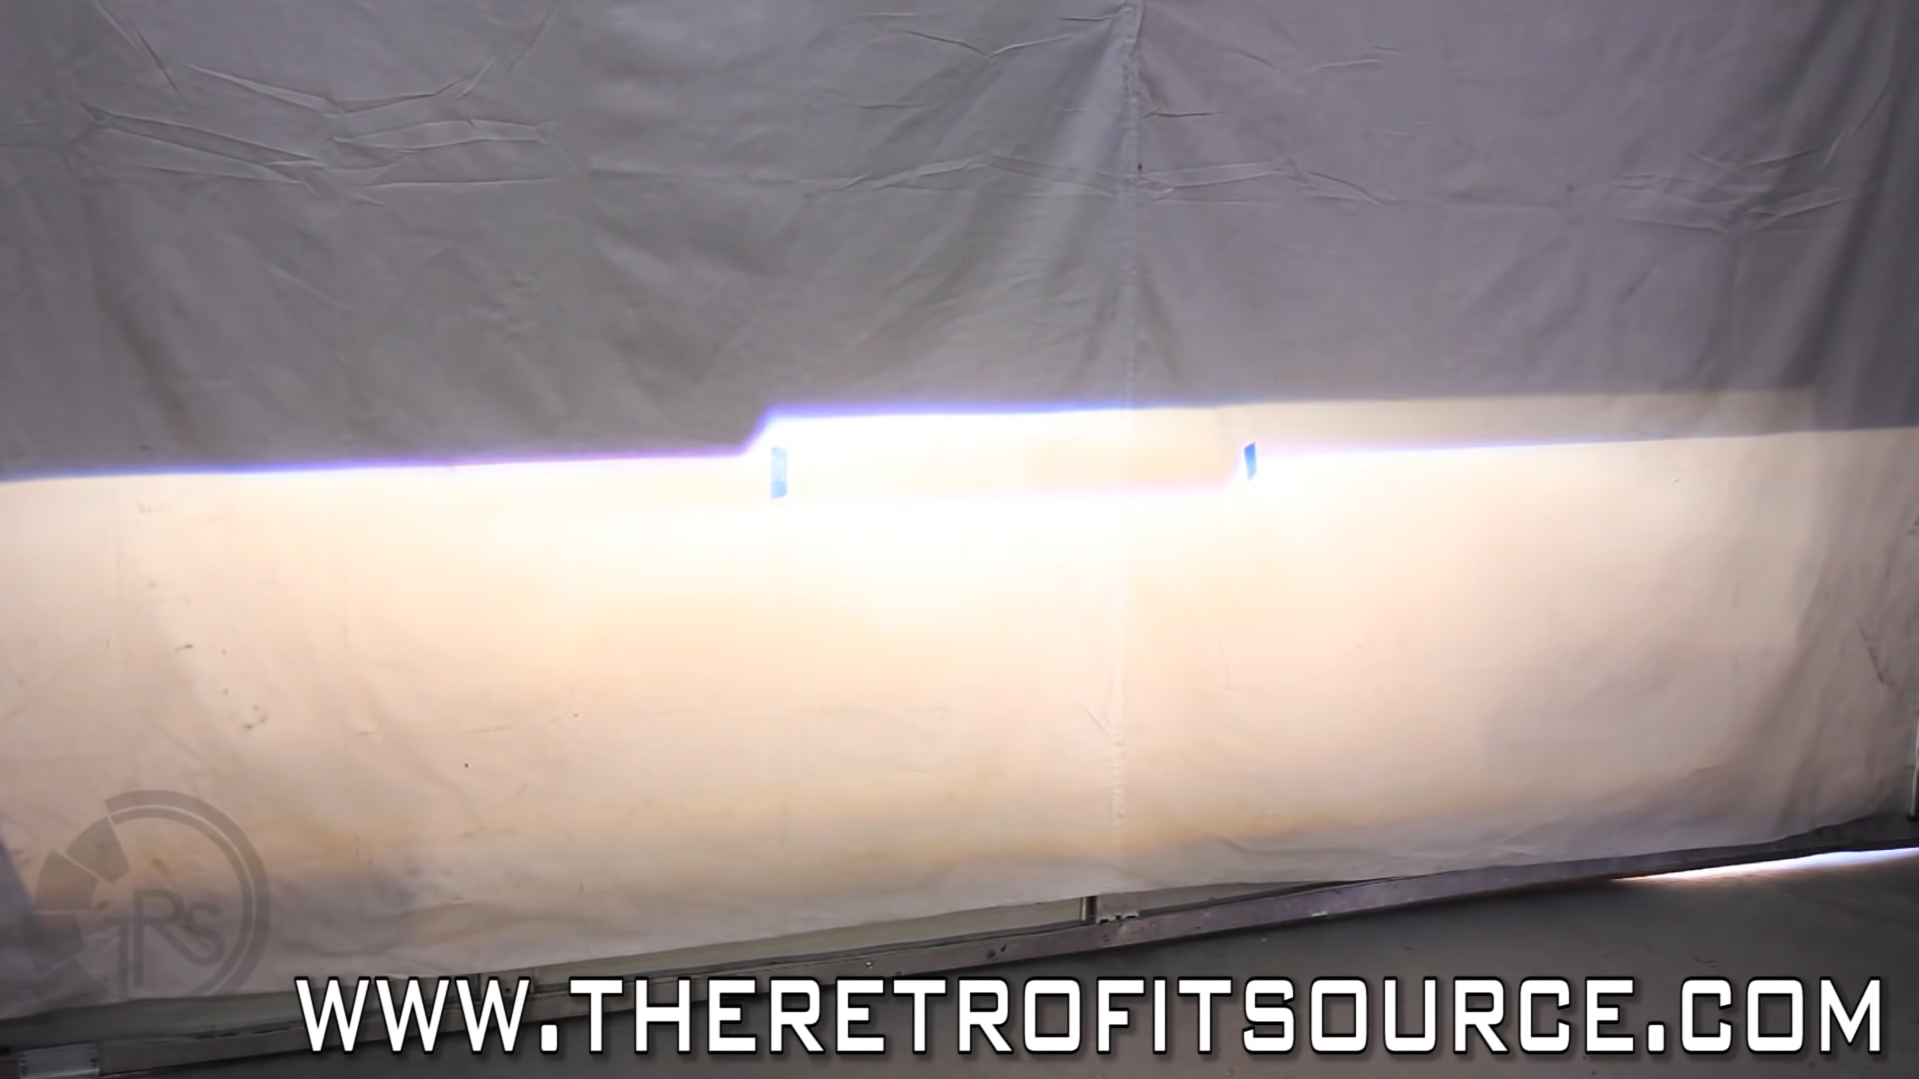
Once you have reversed enough your headlight beam should go no higher than the cross mark we made on the wall.
Here is what the headlight beam pattern looks like before it has been aimed properly. We got close, but not quite where it needs to be.
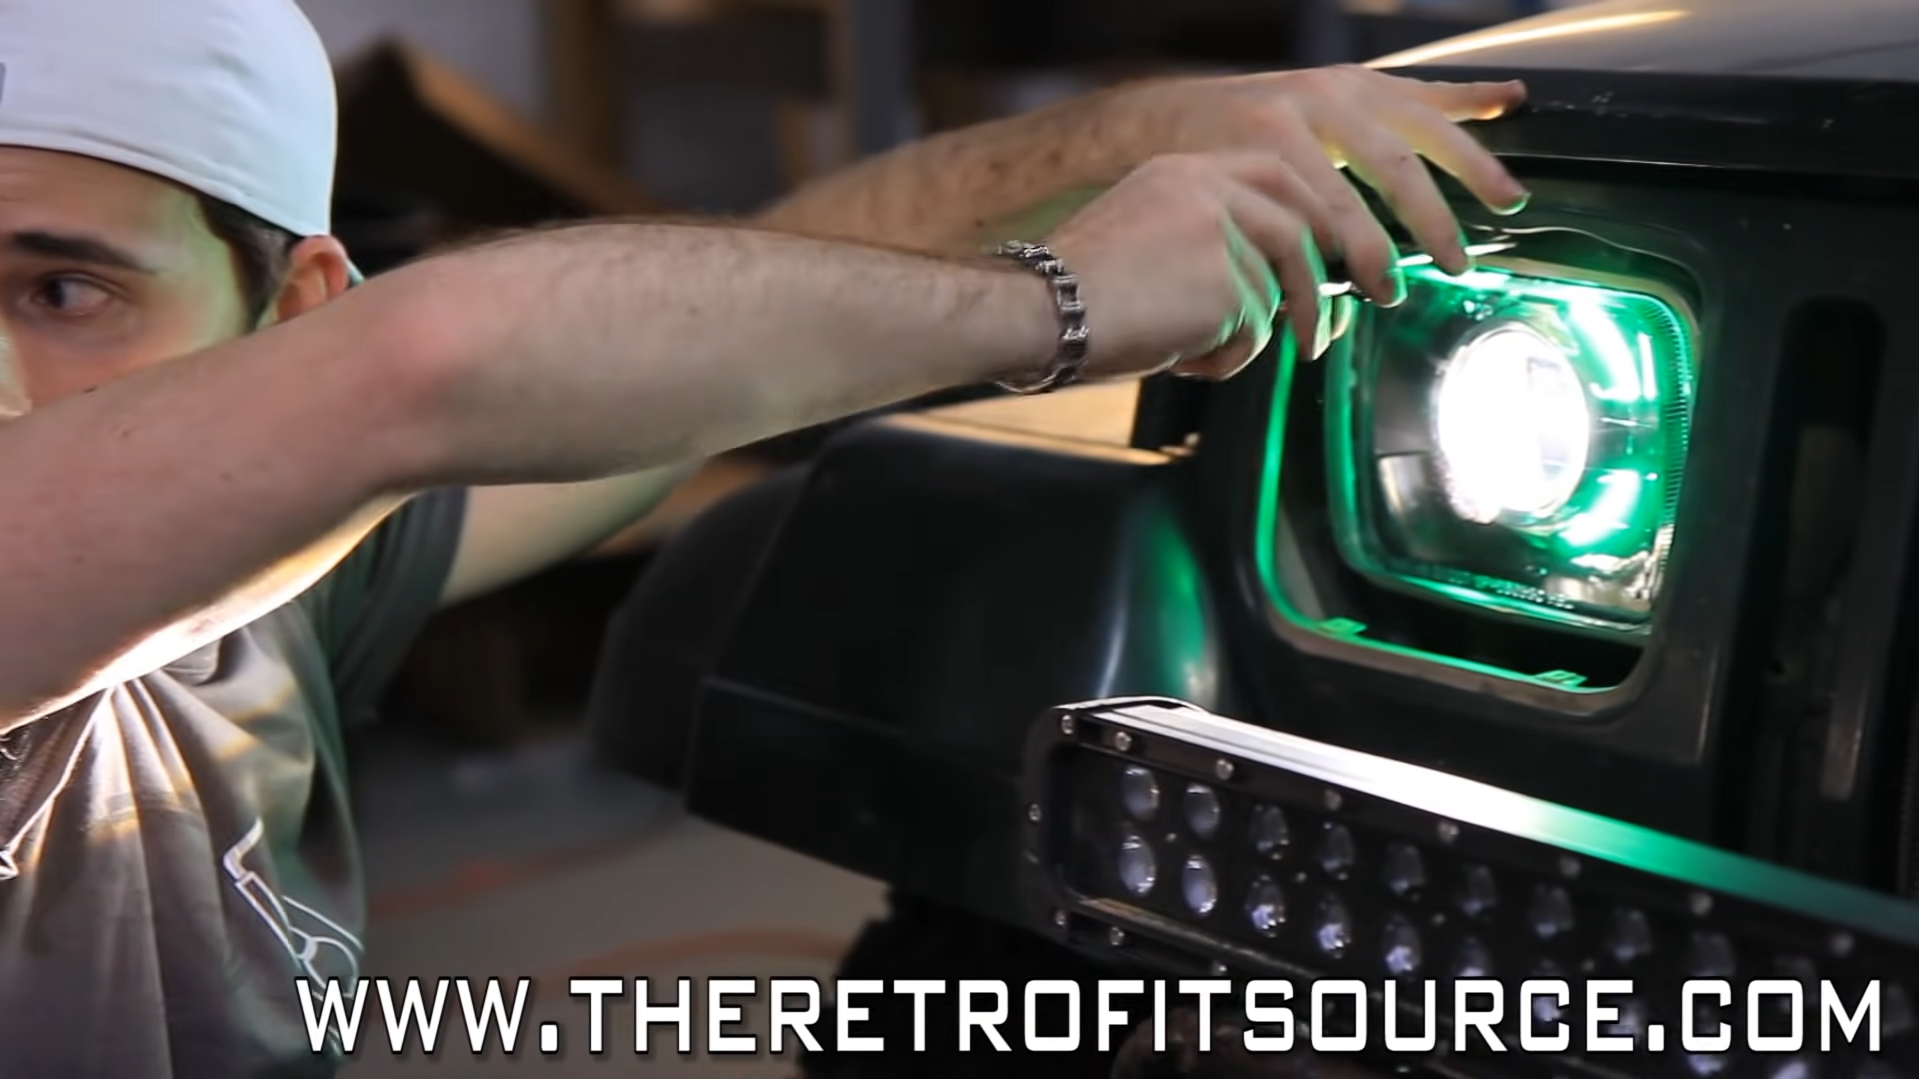
Step 5. If it is incorrect, find your adjustment screw to change the height of your headlights, and adjust it with either a screwdriver or socket wrench.
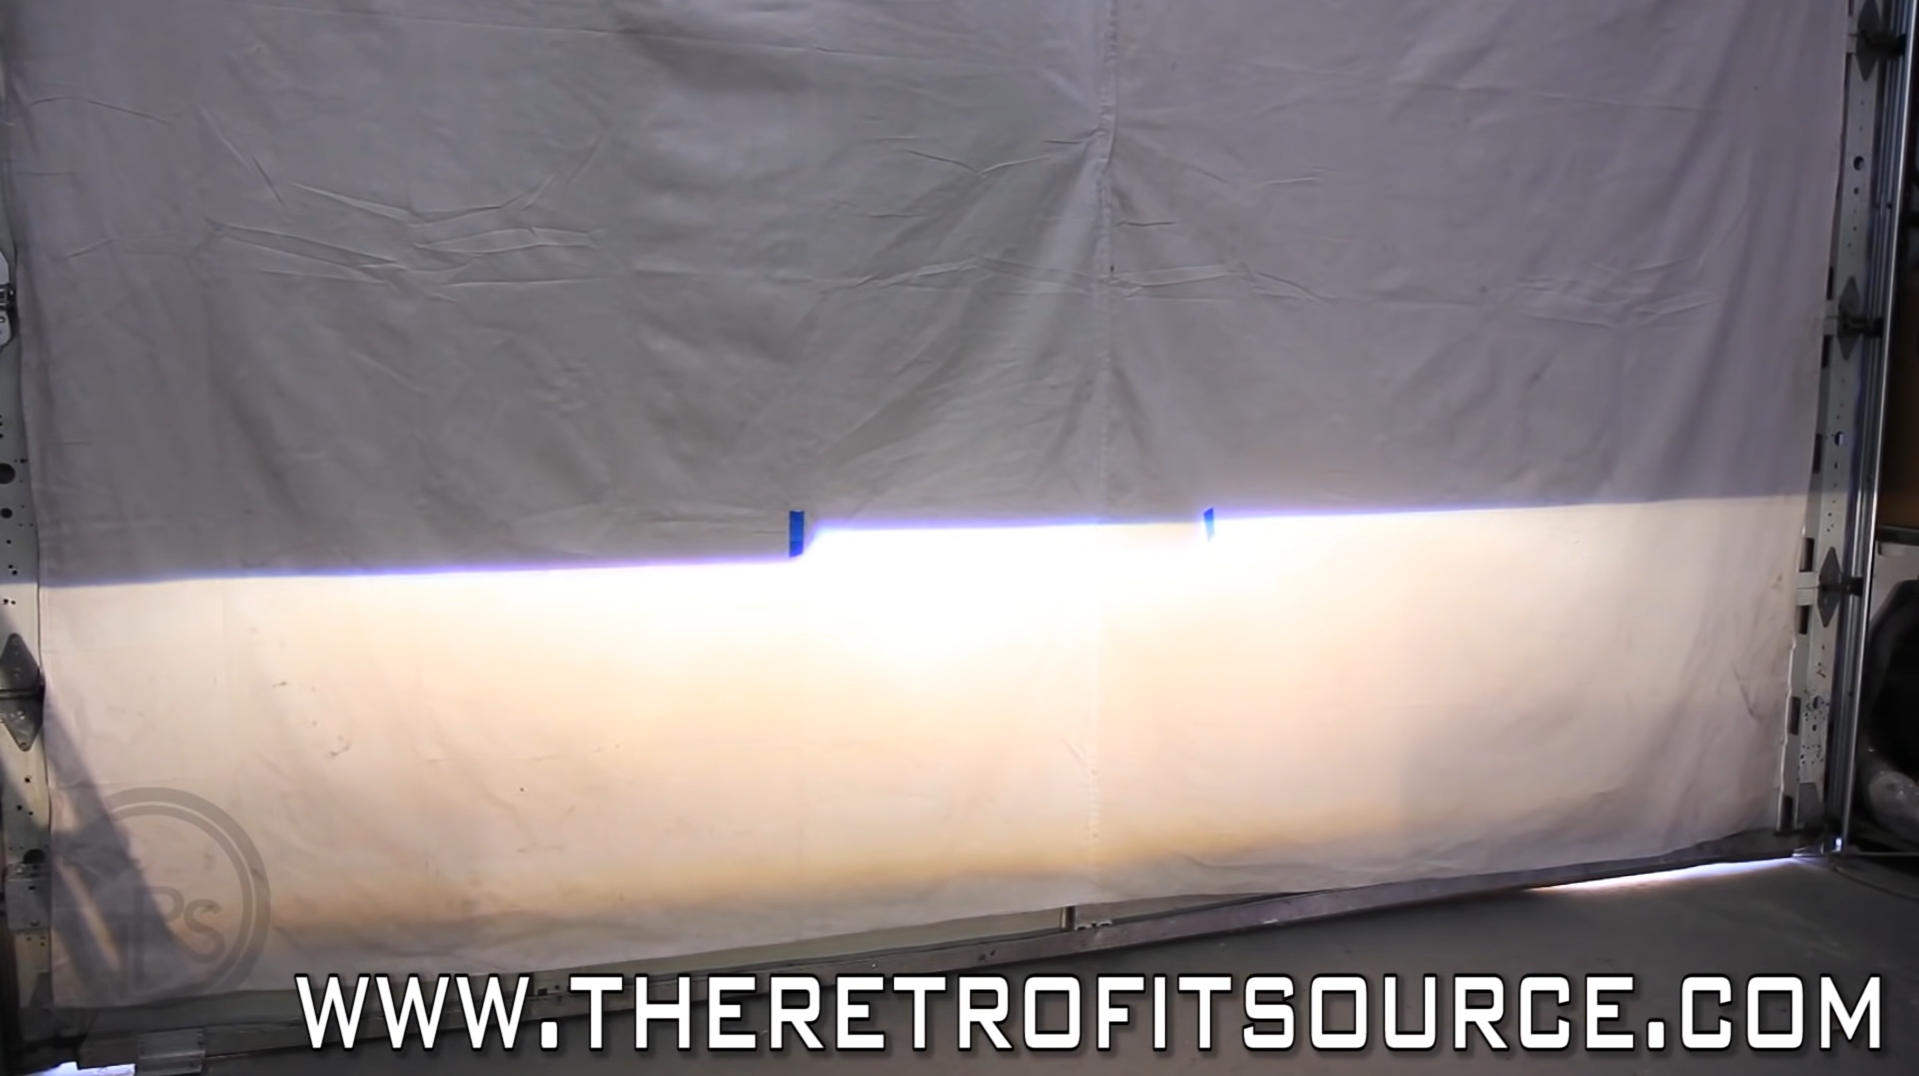
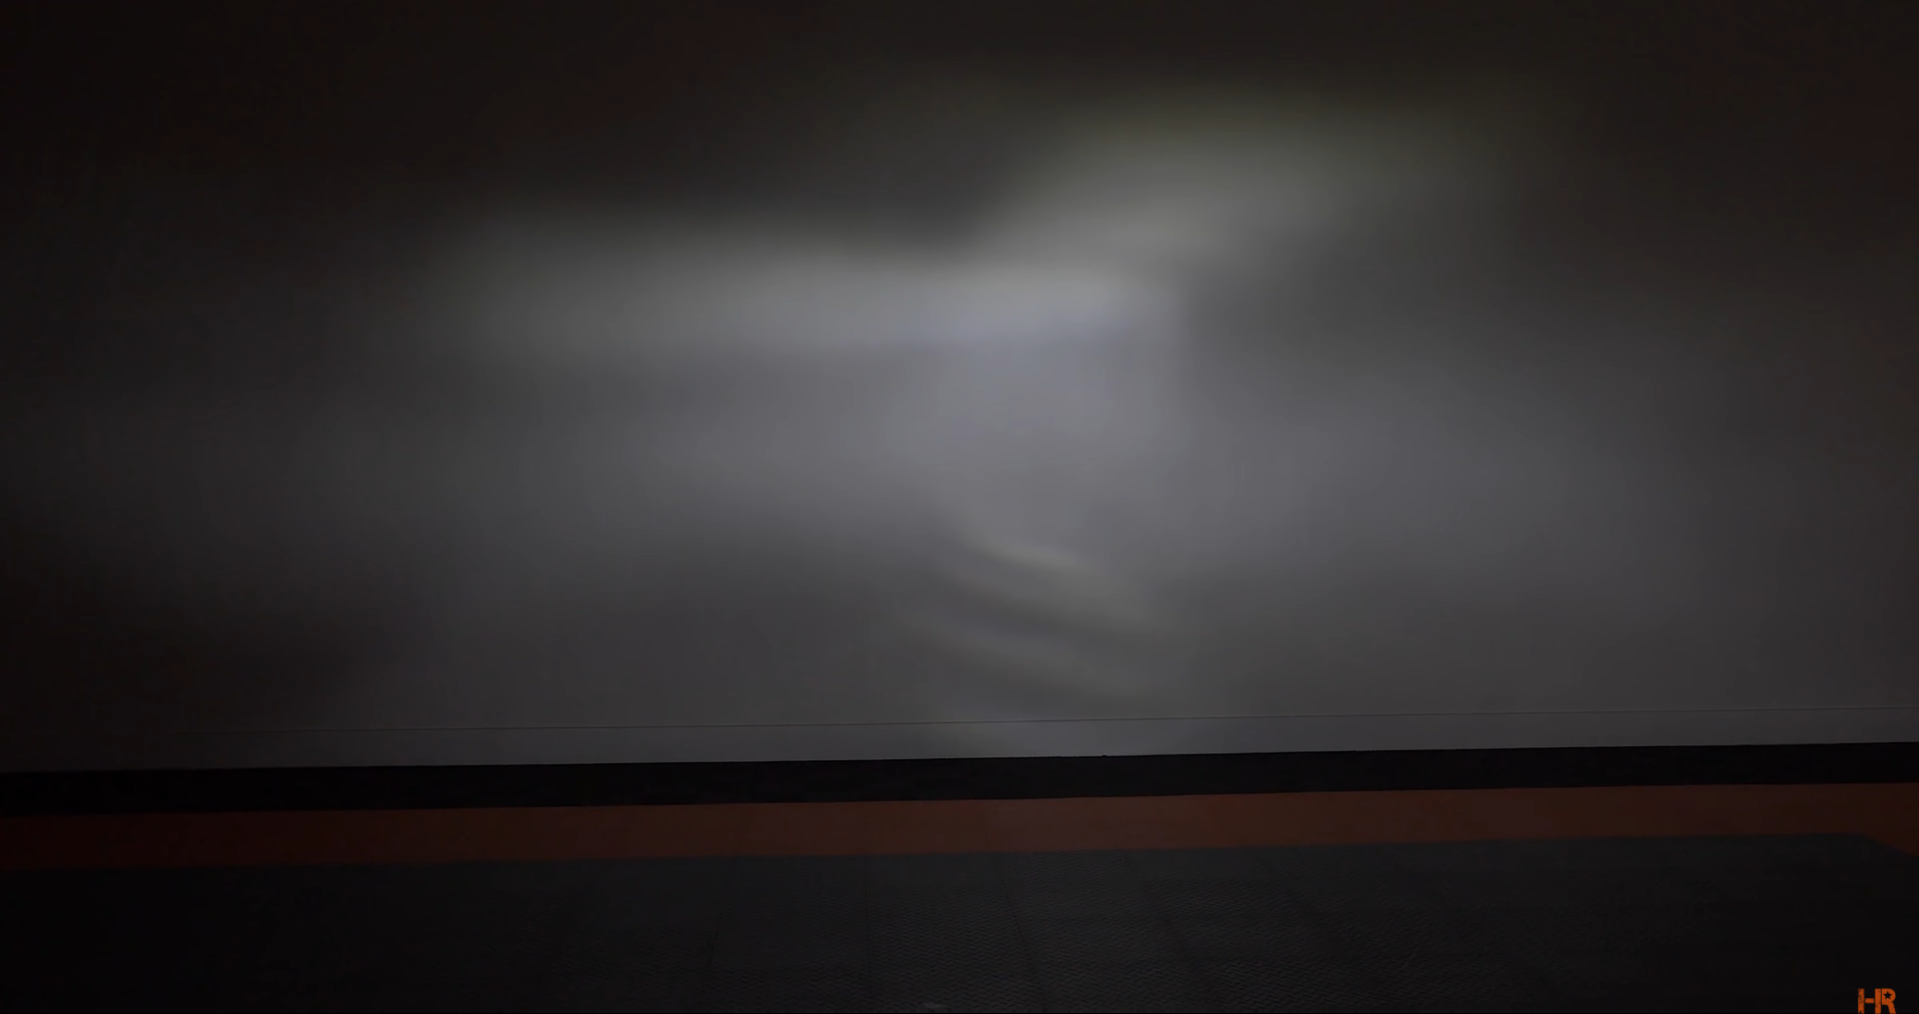
Here you can see the beam pattern has been aligned with the measured marks we made on our wall.
CONCLUSION
We hoped this covered all the bases and important details you will need to know for aiming the headlights on your car.
If you have any further questions, feel free to drop us a comment or email our customer support at support@theretrofitsource.com.
If you are wanting to learn how to aim your headlights after you have gotten your LED bulbs installed, check out our video below. While you are there, make sure to like and subscribe to our channel for the latest lighting upgrades for your vehicle.