.png)


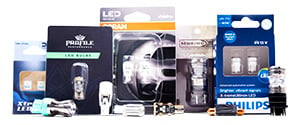
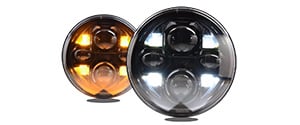


So, you've installed those LED turn signal bulbs and are enjoying that nice bright amber crisp flash. But along with it, you've encountered the dreaded hyper flash. Today, we're going to dive into what causes hyper flash and how to fix it using resistors from Morimoto, a leading manufacturer of automotive lighting products.
What is Hyper Flash?
Hyper flash occurs when your vehicle's turn signals or brake lights flash more rapidly than intended. This is usually at least twice the normal rate. This issue is often an unintended consequence of upgrading to LED bulbs.
These LED bulbs have a lower power draw than traditional incandescent or halogen bulbs. The reduced power consumption can confuse your vehicle's electrical system, causing hyper flash.
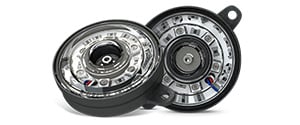
The Flasher Relay Culprit
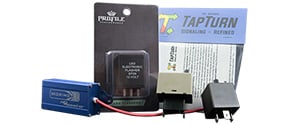
The main cause of hyper flash lies in the flasher relay. The flasher relay is the component responsible for controlling the flashing rate of turn signals and brake lights. The relay monitors the flow of electrical current through the circuit and adjusts the flashing rate accordingly.
Low-power LED bulbs can cause the relay to interpret a reduced current as a sign that the bulb has burned out. This misinterpretation triggers hyper flash as a warning signal.
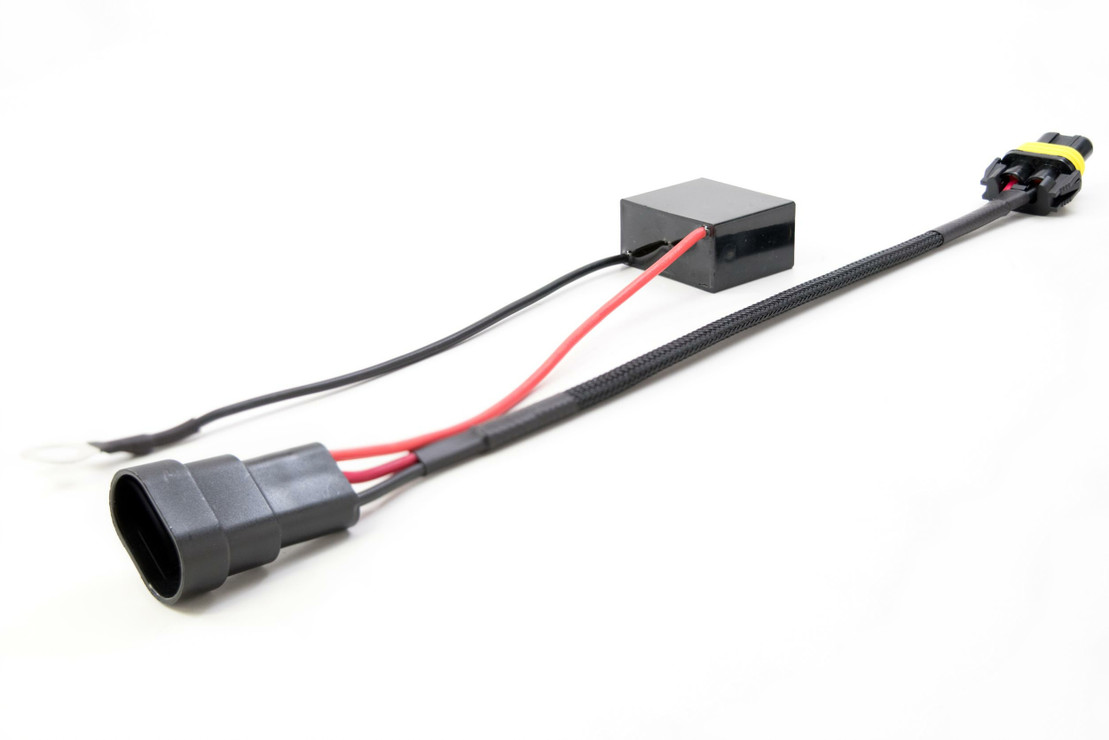
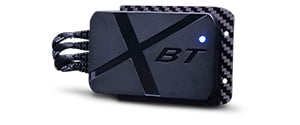
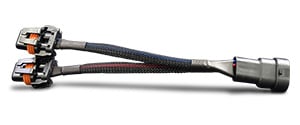
MORIMOTO ANTI-FLICKER CAPACITOR LINK

Fixing Hyper Flash with Morimoto Resistors
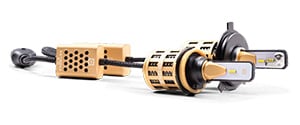
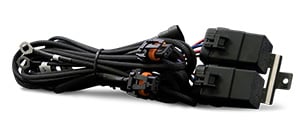
To resolve hyper flash, you can install resistors to the circuit to match the resistance of the original halogen bulbs. Morimoto resistors are designed to mimic the power draw of traditional incandescent bulbs. This helps ensure that your vehicle's flasher relay operates correctly with energy-efficient LED turn signal bulbs installed.
Here's a 5 step-by-step guide on installing Morimoto resistors to eliminate hyper flash:
- Expose the wires: Locate your turn signal bulb and cut back the sheathing on the two connected wires. You don't need a lot exposed, just enough to work with.
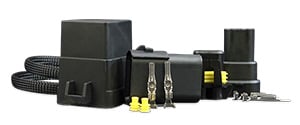
- Attach T-taps: Using the T-taps included with the Morimoto resistors, attach one to the power wire and one to the ground wire. Use a pair of pliers to snap the T-taps into place.
- Connect the resistor: Plug the spade connectors from the Morimoto resistor into the T-taps. Resistors are not polarity specific, so it doesn't matter which wire goes to which T-tap.
- Mount the resistor: Find a suitable location to mount the resistor, keeping in mind that it will get hot during operation. Avoid placing it near heat-sensitive components or where it might dangle in the tail light cavity.
- Test your lights: Turn on your vehicle's turn signals or brake lights to verify that the hyper flash issue has been resolved.
By following these steps, you'll be able to enjoy the benefits of LED turn signals without the annoyance of hyper flash. With Morimoto resistors in place, your vehicle's electrical system will function correctly, and you'll have a seamless LED bulb upgrade experience.
Contact Us for Expert Advice on Our Retrofit Source Website
Upgrade your automotive lighting confidently by exploring our Retrofit Source website. We offer a wide range of LED turn signals, Morimoto resistors, and other high-quality lighting products.
Our knowledgeable team is always ready to provide guidance and answer any questions. Anything from fixing hyper flash and installing resistors to selecting the perfect lighting solution for your vehicle.
Don't hesitate to contact us – we're here to help you achieve the best possible lighting performance for your vehicle.