19+ Toyota Corolla Hatchback LED Bulb Upgrade
How to install LED bulbs in the front overhead map and dome lights, rear cargo light, and license plate lights of a 2019+ Toyota Corolla. These step by step instructions will help you understand WHY we chose the bulbs we did, and how to do the install!
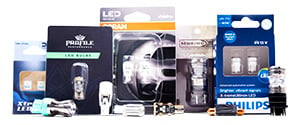
CLICK HERE to see all the products used in our install! All LED bulbs are in this link.
 |
 |
Today, I'm sharing my lighting upgrade experience with my new Corolla Hatchback. The 2019 and above Toyota Corolla Hatchback comes standard with LED headlights, taillights, and other great features. There were still a few light sockets leftover that uses the tired old incandescent technology—so it was time to fix that.
I poked around to figure out what I'd need to swap out to make the Corolla lighting entirely LED.
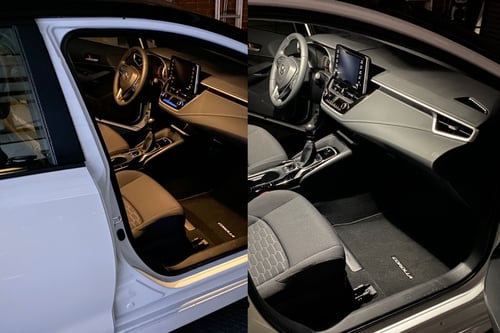
Towards the front, a couple of map lights over the console were still that ugly, egg-wash-yellow color, and the same eyesore in the center of the headliner with the dome light. In the back cargo area, the only light also bore that same depressing, warm white that clashed with the stylish LED exterior lighting.
Speaking of the exterior—the only incandescent bulbs I could find on the outside were those that many of us upgrade first—the license plate lights. Today we're covering it all: two map lights, one dome light, one cargo light, and a pair of license plate lights.
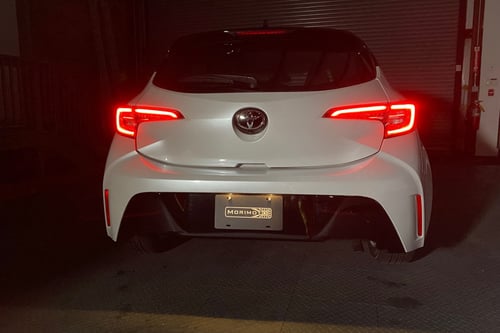
I began with the license plate lights. On the side of each clear plate light cover is a small square tab that appeared to be the clip that keeps the light fitted. I used a flathead screwdriver to press this tab toward the center of the light, applied slight downward force, and out she came. A twist of the bulb socket releases it from the lens assembly, and the T10 bulb came right out.
Fortunately, the Morimoto bulbs are not polarity specific, so you don't have to bother turning the lights on to check if it's plugged in correctly—plug it in, reinsert the bulb socket, and then clip the light back in. The second license plate light went just as quickly. That's really how easy it was to swap both and make the entire exterior lighting LED.
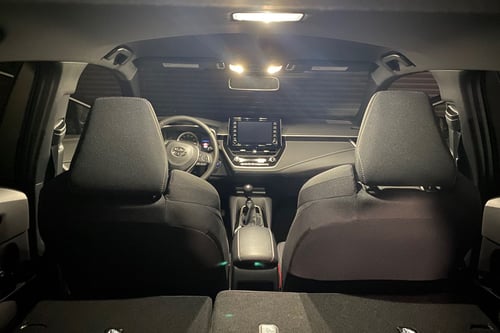
Next up was the dome light. First, I turned the dome light off so I could see what I was doing. At the front of the lens, I could barely make out two small square openings that Toyota tends to use for these lights as their release point. With a bit of finesse, the lens comes right down from the headliner.
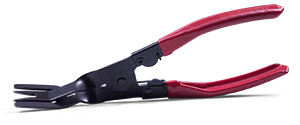
At the center of the exposed dome-light assembly (sans lens) was the stock festoon bulb. I slid the pick up above the bulb and pulled down to release it. The bulb went flying into the back seat somewhere to be discovered in three years—so just put your hand under the bulb when you do this.
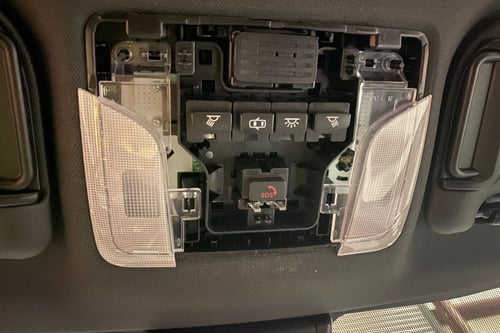
I liked the stock-like size of the XTR Festoon bulbs, so I grabbed one of those instead of the larger (and brighter, I'd imagine) Morimoto Festoon.
I held the bulb up against the two contacts of the dome light socket to confirm polarity, flipped the switch to the "on" position, and then back off. I placed one end of the festoon bulb into the punched metal contact and then popped it on the other side. Last, I popped the lens back on the dome light, turn the switch on, and finished the light.
Map lights seemed a bit more complex since Toyota didn't make them the standard "push" type they use in many other models. The map light comes apart pretty quickly, but if you're in doubt, there are quite a few helpful videos on this. (I followed this one at first, admittedly)
First, you'll want to turn the map lights off so you can see what you're doing and don't burn your fingers on a hot bulb. The face of the map light assembly is just a cover. If you gently pry at the edges around it, it will pop right off, exposing the clear lenses of the map lights, as well as the inner workings of the map light assembly itself.
Once removed, there's a T10 pointing right at you that you can reach in and pull out. Now I have the left and right done. Next, I'm going to pop the two lenses back on, then the faceplate of the assembly, and the install is nearly completed.
Above the visors, there are a pair of lights, one on each side. On the left side of each light (not reversed on the passenger side), insert a flathead screwdriver and toggle it up against the plastic tab holding it in place. The light then pulls down.
Nothing to unplug here—remove the incandescent T10 and swap in the new Morimoto LED T10. The light then clicks back into the headliner.
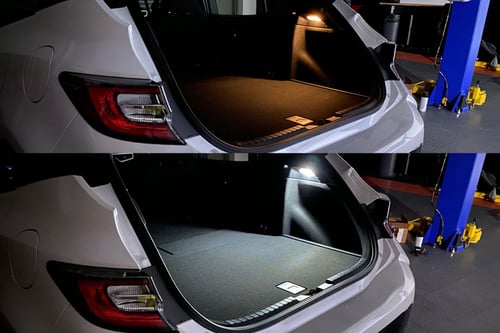
Just the cargo light is left!
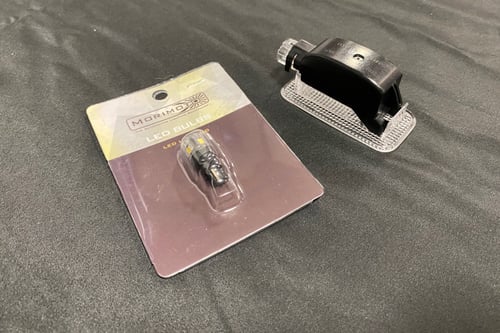
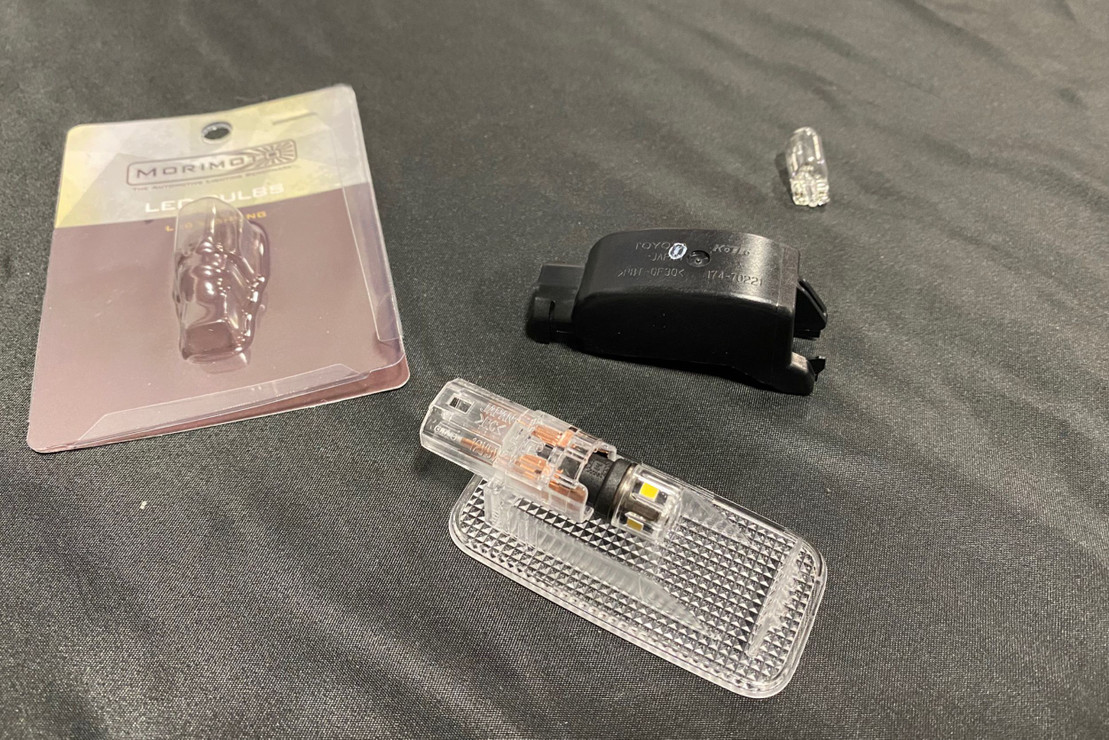
I used a thin flathead screwdriver to pry up at the end nearest the hatch itself, and the transparent light assembly came right out. Next, I unplugged the connector from the socket by pressing the center tab and gently pulling it from the socket. You'll notice there's a black plastic cap covering the bulb and socket assembly. Remove it by prying the two little tabs, one on each side of the socket.
Next, you'll see the T10 bulb installed in the remaining all-clear housing. Remove and replace with the fifth Morimoto XB LED T10 bulb. Clip the black plastic cover back on, click the connector back into the socket, and click the cargo light back into the cargo trim panel opening. We've completed the install!
With this process, including documentation, I spent at most 15 minutes here. It's an easy install and one I consider requisite for any car I own—swap everything out and never replace it again. And the reason for most: being able to see with the increased light output! I could now locate that missing dome light bulb I had dropped with ease, thanks to the new Xtreme LED festoon bulb illuminating the back seat area.
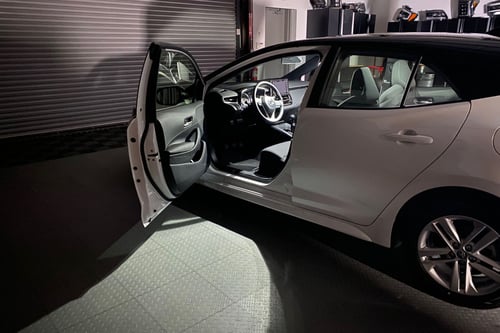
Ready to buy all of the upgrades we've mentioned here for your 19+ Toyota Corolla Hatchback? Follow this link to get hooked up with the best automotive lighting in the business.
Questions? Contact us support@theretrofitsource.com
.png)
