

The Morimoto Mini D2S 2.0 bi-xenon retrofit is one of the most rewarding projects you can tackle on a workbench, and we have installed enough of them to know exactly where people trip up. In this guide we walk through the entire process the way we do it in the shop, from marking your halogen pattern on a wall to test firing the solenoid before you seal everything back up. If you follow the order of assembly carefully, you will end up with a crisp cutoff and a projector that stays locked in place for the long haul.
Before we dive into the steps, a quick note on where this projector fits. The Mini D2S is a compact bi-xenon unit that drops neatly into a reflector bowl using an H4 adapter plate. If you are shopping around for a complete package, our Universal Bi-Xenon Projector Retrofit Kits are a great starting point, and if you want to compare it against the newest small-format option we have covered our deep dive on the Micro D2S 5.0 as well.
Step 1: Mark Your Halogen Pattern Before You Touch Anything
The first thing to do with any retrofit, in this case a Morimoto Mini retrofit, is to park the car about 20 feet from a flat wall. From there we turn the halogen headlamps on and mark the cutoff and the steps in the headlight pattern. This gives you a reference point so that after the retrofit you can aim your new projectors to roughly the same height and spread. Skipping this step is the single most common mistake we see, because once the halogen bulbs are gone you have nothing to reference for alignment later.

Once you have your marks on the wall, remove the headlights for disassembly. This is also a good time to think about your electronics. The Mini D2S runs on a D2S HID bulb, so you will want a matching ignition system. We generally pair these with a proven D2S OEM HID System, though there are also plenty of aftermarket HID ballasts depending on your budget and packaging needs.
Step 2: Install the Mini D2S Projector Into the Reflector Bowl
Now we go over the order of assembly for the Morimoto Mini D2S projector into a reflector bowl. First, remove any of the glare caps and miscellaneous hardware from the reflector bowl. Once you have disassembled the hardware from the back of the Mini D2S projector, leave on the silicone crush washer. Do not remove it, because it is part of what seats the projector correctly.
With the crush washer in place, install the projector into the bowl. Leave the wires threaded through, and make sure the solenoid is on the bottom at six o’clock. That orientation matters because the cutoff shield needs to move in the correct direction to produce a proper beam pattern. Getting the solenoid clocked wrong is another easy mistake to avoid by checking it now.

Step 3: Fit the H4 Adapter Plate
Looking at the reflector bowl from the back, you will see a ridge. That is where the H4 adapter plate goes. The notch on the plate is designed to go on the top, and it sits into the location where the H4 bulb base used to live. Line up that notch with the top ridge and slide the plate down into position.

Next comes the silicone. Slip that on over the plate, and then the locking ring follows. This layered approach (adapter plate, then silicone, then locking ring) is what gives the assembly a snug, sealed feel once everything is drawn together.
Step 4: Tighten the Locking Ring
With the silicone in place, install the locking ring and tighten it as far as you can by hand. Once you can no longer tighten it by hand, take a wrench and tighten it all the way. This is what clamps the whole projector assembly into the reflector bowl from the front side.

Here is a critical tip we always share. With the soft lock ring on the back, do not tighten it down until you are completely finished with the installation. It will deform intentionally to hold the projector in place, so you only want to commit to that once everything else is dialed in. Tighten it too early and you lose your ability to fine tune the assembly.
A Few Cleanliness and Handling Reminders
Before you complete the installation and put the reflector bowl back on the headlight, use a soft microfiber towel to clean any fingerprints or dust off the surface of the lens. Also, during installation, make sure you do not bump the solenoid assembly or the cutoff shield. A jarred shield can compromise its function over the long term, and that is the last thing you want after sealing a headlight back up.
Step 5: Test Fire the Solenoid
We strongly recommend using a 9-volt battery, or a simple test assembly like the one we use, to fire the solenoid before you seal everything back up. You want to test fire it 30 to 40 times to be absolutely sure it works properly. You will be able to hear and see the shield move, which confirms it is not stuck. Again, do this 30 or 40 times so you have full confidence in the mechanism before final assembly.

When the shroud is on, simply slide it out so that it is flush with the projector and you are good to go. Take a microfiber cloth and clean off any fingerprints picked up during installation before you seal the headlights up. If you would rather skip the reflector bowl route entirely and prefer a projector-mounted solution, some builders look at options like the Retro-Quik Hella E55 bi-xenon kit, but for reflector housings the Mini D2S is hard to beat.
Step 6: Install the D2S Bulb
Now we go over installing the D2S bulb into the Mini D2S Morimoto projector. First, take your alcohol pad and clean the bowl of any fingerprints, dust, or anything like that before installation. A clean surface keeps stray debris away from the optics and connector.
Install the bulb into the back of the Mini D2S projector with the ceramic wire facing down, and lock it into place snugly. Orientation matters here, so double check that ceramic wire position before you lock it in.

First goes the lock ring. It will slip over one tab, then you spin it and work it onto the other tab. Next goes the silicone lock washer with the angled side facing down. After that, install the bolt cap and tighten it down hand tight. Everything here is hand tight, so there is no need to force it.
Step 7: Seal the Connector With Rubber Booties
When you are finished with the bulb, install the rubber booties onto the wire. These keep water from getting inside the connector, which is important for long-term reliability. Slide them on, connect the wiring, and pull the shielding back just a little bit to install everything cleanly.

Once the booties are seated and the connector is plugged in, you are ready to reassemble the headlight. Remember not to fully commit the soft lock ring until every step above is complete, then give the lens one final microfiber wipe before sealing. When you reinstall the headlights on the vehicle, use those wall marks you made at the very beginning to aim the beam back to the correct height and spread.
Final Thoughts
The Morimoto Mini D2S 2.0 bi-xenon retrofit rewards patience and a methodical order of assembly. Mark your pattern, seat the projector with the solenoid at six o’clock, layer the H4 adapter plate with silicone and the locking ring, and always test fire the solenoid 30 to 40 times before sealing. Do those things and you will have a headlight that performs exactly the way it should for years to come.
Frequently Asked Questions
What is the first step before starting a Morimoto Mini D2S retrofit?
Park the car about 20 feet from a flat wall, turn on the halogen headlamps, and mark the cutoff and steps in the headlight pattern before removing the headlights for disassembly.
How is the Morimoto Mini D2S projector installed into the reflector bowl?
After removing glare caps and hardware, the projector is inserted with the silicone crush washer left on, wires threaded through, and the solenoid positioned at six o’clock. The H4 adapter plate notch aligns with the top ridge, silicone goes on next, then the locking ring is hand tightened and finished with a wrench.
Why should the soft lock ring not be fully tightened until installation is complete?
The soft lock ring is designed to deform intentionally to hold the projector in place, so it should only be tightened once the entire installation process is finished.
How do you test the solenoid before sealing the headlight back up?
Use a 9-volt battery or similar test assembly to fire the solenoid 30 to 40 times, listening and watching to confirm the cutoff shield moves properly and is not stuck.
How is the D2S bulb installed into the Mini D2S projector?
Clean the bowl with an alcohol pad, install the bulb with the ceramic wire facing down, lock it into place, then add the lock ring, silicone lock washer with the angled side facing down, and hand tighten the bolt cap before installing rubber booties on the wires to keep water out of the connector.
Meet the Experts Behind The Retrofit Source
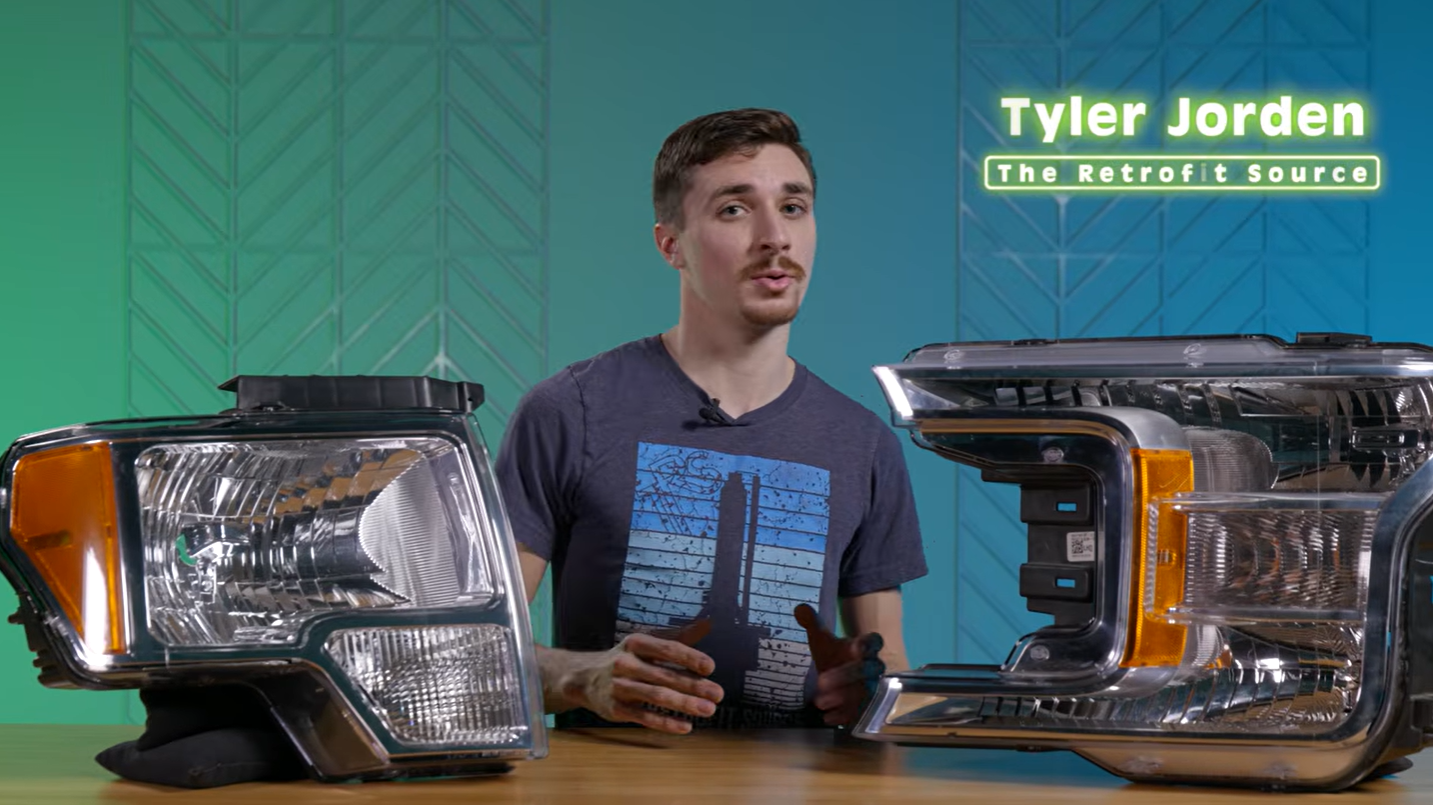
Tyler Jordan – Technical Writer
Tyler works directly with the TRS product R&D team, bringing over a decade of automotive aftermarket lighting experience to every article. An avid enthusiast with hundreds of personal installations under his belt, his content is built on hands-on knowledge from the workbench, not spec sheets.

Caleb Morgan – Marketing Manager
Caleb brings over a decade of automotive lighting industry experience and works with TRS customers daily on the front lines. With hundreds of personal lighting installations and a direct feedback loop from real buyers, his content addresses the questions and problems that actually matter.


