

In retrofitting, clear lens swaps are one of the most popular upgrades you can perform, and for good reason. When we tested this process on the bench, a clear lens swap did two things at once: it enhanced the light output from the projector by making it brighter, and it improved the aesthetics by making the cutoff line sharper and a little more colorful. Today we are going to break down everything behind HID headlight projector clear lens tuning, including the different clear lenses available, how compatibility works, and the techniques we use to get them set up just right on your projectors.
Why Clear Lens Swaps Matter for HID Projectors
The whole reason retrofitters reach for a clear lens comes down to performance and looks. A clear lens swap increases brightness from the projector while sharpening the cutoff line and adding more color to the beam pattern. That combination is exactly what most enthusiasts are chasing when they open up a headlight housing. Compared to a factory frosted or textured lens, the clear glass lets more usable light through and tightens up that horizontal line you see on the wall.
If you want to browse the parts we reference throughout this guide, our catalog of Clear Lens Upgrades & Etching is a good starting point, and it pairs well with our full range of HID and LED Projector Kits if you are building a retrofit from the ground up.
Step One: Picking a Compatible Clear Lens
The first part of any clear lens swap is actually picking out a clear lens that is compatible with the projectors you are going to be using in your retrofit. In most cases you really only have to do this for OEM projectors, because most aftermarket projectors already come with a clear lens from the factory. That single compatibility check saves you a lot of frustration down the road.
For this walkthrough we are using a Nissan Murano by Xenon projector, which takes the SD clear lens. It is a 3 inch clear lens, but that is really not the end of the story. There are other 3 inch lenses out there, like the Mazda 3 ZK or the WRR, and those will physically fit as well. Diameter alone does not guarantee a good result.

Focus Height Is the Detail That Makes or Breaks It
Beyond diameter, the thing to consider is the focus height of the lens, which is the depth of the lens measured from the front to the flat side on the back. This is really important, because if you do not have the right focus height, you are never going to get a sharp and colorful beam pattern out of the projector. So when choosing a clear lens, it is important to get one that is not only the right diameter but also the right focus height.
In this case, the SD lens we used has a 27mm focus. The reason that matters is because the original equipment lens from the Murano is also a 3 inch lens with a 27mm focus. Matching that spec is the key. No matter how much spacing you do after the fact, if you have the wrong lens you are never going to be able to get the light output right. If you are working with popular JDM housings, an option like the Black Series clear lens for JDM projectors is another example of a diameter and focus matched lens designed to slot into specific projectors.
The Three Components That Shape Your Beam Pattern
When setting up the clear lens, there are three main parts of the projector you will want to consider. The first is the capsule of the bulb, which is the light emitting element in the bulb and its position inside the reflector bowl. The second part is the actual cutoff shield of the projector, which is the shield inside that forms the beam pattern. The third is, of course, the lens itself. The spacing between these three elements is crucial in getting the right beam pattern.
Because of the high tolerances and the sensitivity of the optics inside projectors, you can space out clear lenses in a variety of ways to adjust the light output. You can dial in a little more color and less sharpness, a little more sharpness and less color, or something right in the middle that makes you happy. Once you have everything together, it becomes personal preference, but there are several elements you can space or adjust to arrive at that point. If you want a refresher on getting the housing itself positioned correctly, take a look at our projector alignment and mounting walkthrough.
How We Tuned the Lens Spacing
In this particular setup, we did not have to do any spacing at all on the cutoff shield or the reflector bulb. There was no spacing on the bulb either. All of our spacing was done on the front with the lens cradle. To do that, we used the spacer that comes standard with the SD clear lenses to give the lens a little push forward.

To show the difference, we demonstrated the light output on a wall with no spacer, with the spacer installed, and with too much spacing, so you can see how the output changes. We were only adjusting the lens forward or backward by maybe 1 to 2 millimeters at most, but that tiny movement made a huge difference on the wall.

With no spacer, the beam looked one way, and the cutoff was not where we wanted it. Once we installed the correct spacer, the cutoff line snapped into a much sharper, more defined shape with the color we were after. This is the heart of HID headlight projector clear lens tuning: a millimeter or two of travel completely changes the character of the light.

Fine-Tuning With Paper Spacers
To do this adjustment you can use either the stock spacer that comes with the clear lenses, or you can reach for the paper spacers we offer. These paper spacers are really great for clear lens swaps because they allow very fine adjustments to be made on the clear lens. With them, you can set up the light output just the way you like it, dialing that balance between sharpness and color in small, incremental steps.

The paper spacers are what make the difference between a good result and a great one. When the stock spacer moves the lens a hair too far, stacking or removing a paper spacer lets you split the difference. That is how you land on the exact blend of a crisp cutoff and a colorful gradient at the top of the beam without overshooting.
Putting It All Together for Your Build
Once you have selected the correct lens by matching both diameter and focus height, the actual tuning process is straightforward. Start with the standard spacer, throw the projector on a wall, and observe. If the cutoff is soft or the color is flat, adjust the lens position forward or backward by a millimeter at a time until the pattern looks right to your eye. Because everyone weighs sharpness against color a little differently, the final setting really is up to you.
If you are dressing up the front of the projector after tuning, browse our Projector Shrouds selection to give the finished retrofit a clean, finished look inside the housing. And if you want to see how other shops approach the same category of work, Headlight Revolution’s projector retrofit kits are worth a look for comparison.
The takeaway from our bench testing is simple. Get the lens right first, understand the three components that shape the beam, then use the lens cradle spacer and paper spacers to fine-tune. Do that, and a clear lens swap will reward you with a brighter output and a sharper, more colorful cutoff line every single time.
Frequently Asked Questions
Why do retrofitters swap in clear lenses on HID projectors?
Clear lens swaps increase brightness from the projector and make the cutoff line sharper and more colorful compared to the factory lens.
Do all projectors need a clear lens swap for compatibility?
No, this is mainly needed for OEM projectors since most aftermarket projectors already come with a clear lens from the factory.
What is focus height and why does it matter?
Focus height is the depth of the lens from the front to the flat side on the back. It must match the original equipment lens spec, or the projector will not produce a sharp, colorful beam pattern.
What parts of the projector affect the beam pattern besides the lens?
The bulb capsule position inside the reflector and the cutoff shield inside the projector both affect the beam pattern, along with the spacing to the lens itself.
How much spacing adjustment is typically needed on the lens?
In the demonstrated setup, only the front lens cradle needed adjustment, moving the lens forward or backward by about 1 to 2 millimeters using a spacer, which made a large difference in the light output on the wall.
Meet the Experts Behind The Retrofit Source
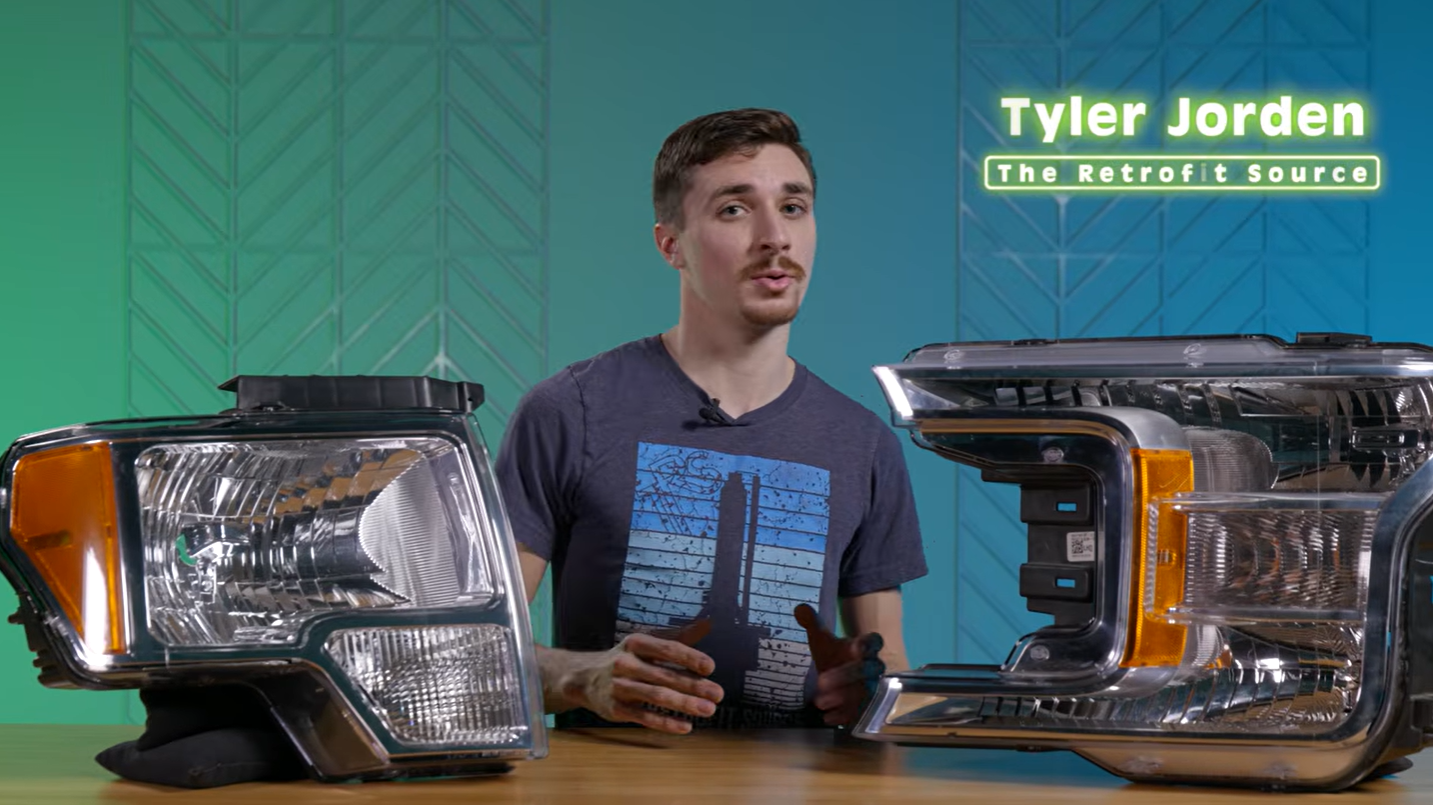
Tyler Jordan – Technical Writer
Tyler works directly with the TRS product R&D team, bringing over a decade of automotive aftermarket lighting experience to every article. An avid enthusiast with hundreds of personal installations under his belt, his content is built on hands-on knowledge from the workbench, not spec sheets.

Caleb Morgan – Marketing Manager
Caleb brings over a decade of automotive lighting industry experience and works with TRS customers daily on the front lines. With hundreds of personal lighting installations and a direct feedback loop from real buyers, his content addresses the questions and problems that actually matter.


